Without a doubt, a kitchen renovation is one of the biggest investments you can make in your home. It is time-consuming, costly, and if we’re honest, a little nerve-racking. But it is also one of the few renovations that can completely transform how your home feels and functions. The Vellore Village kitchen design is a great example of how thoughtful planning can turn an outdated kitchen into one that truly works for everyday life.
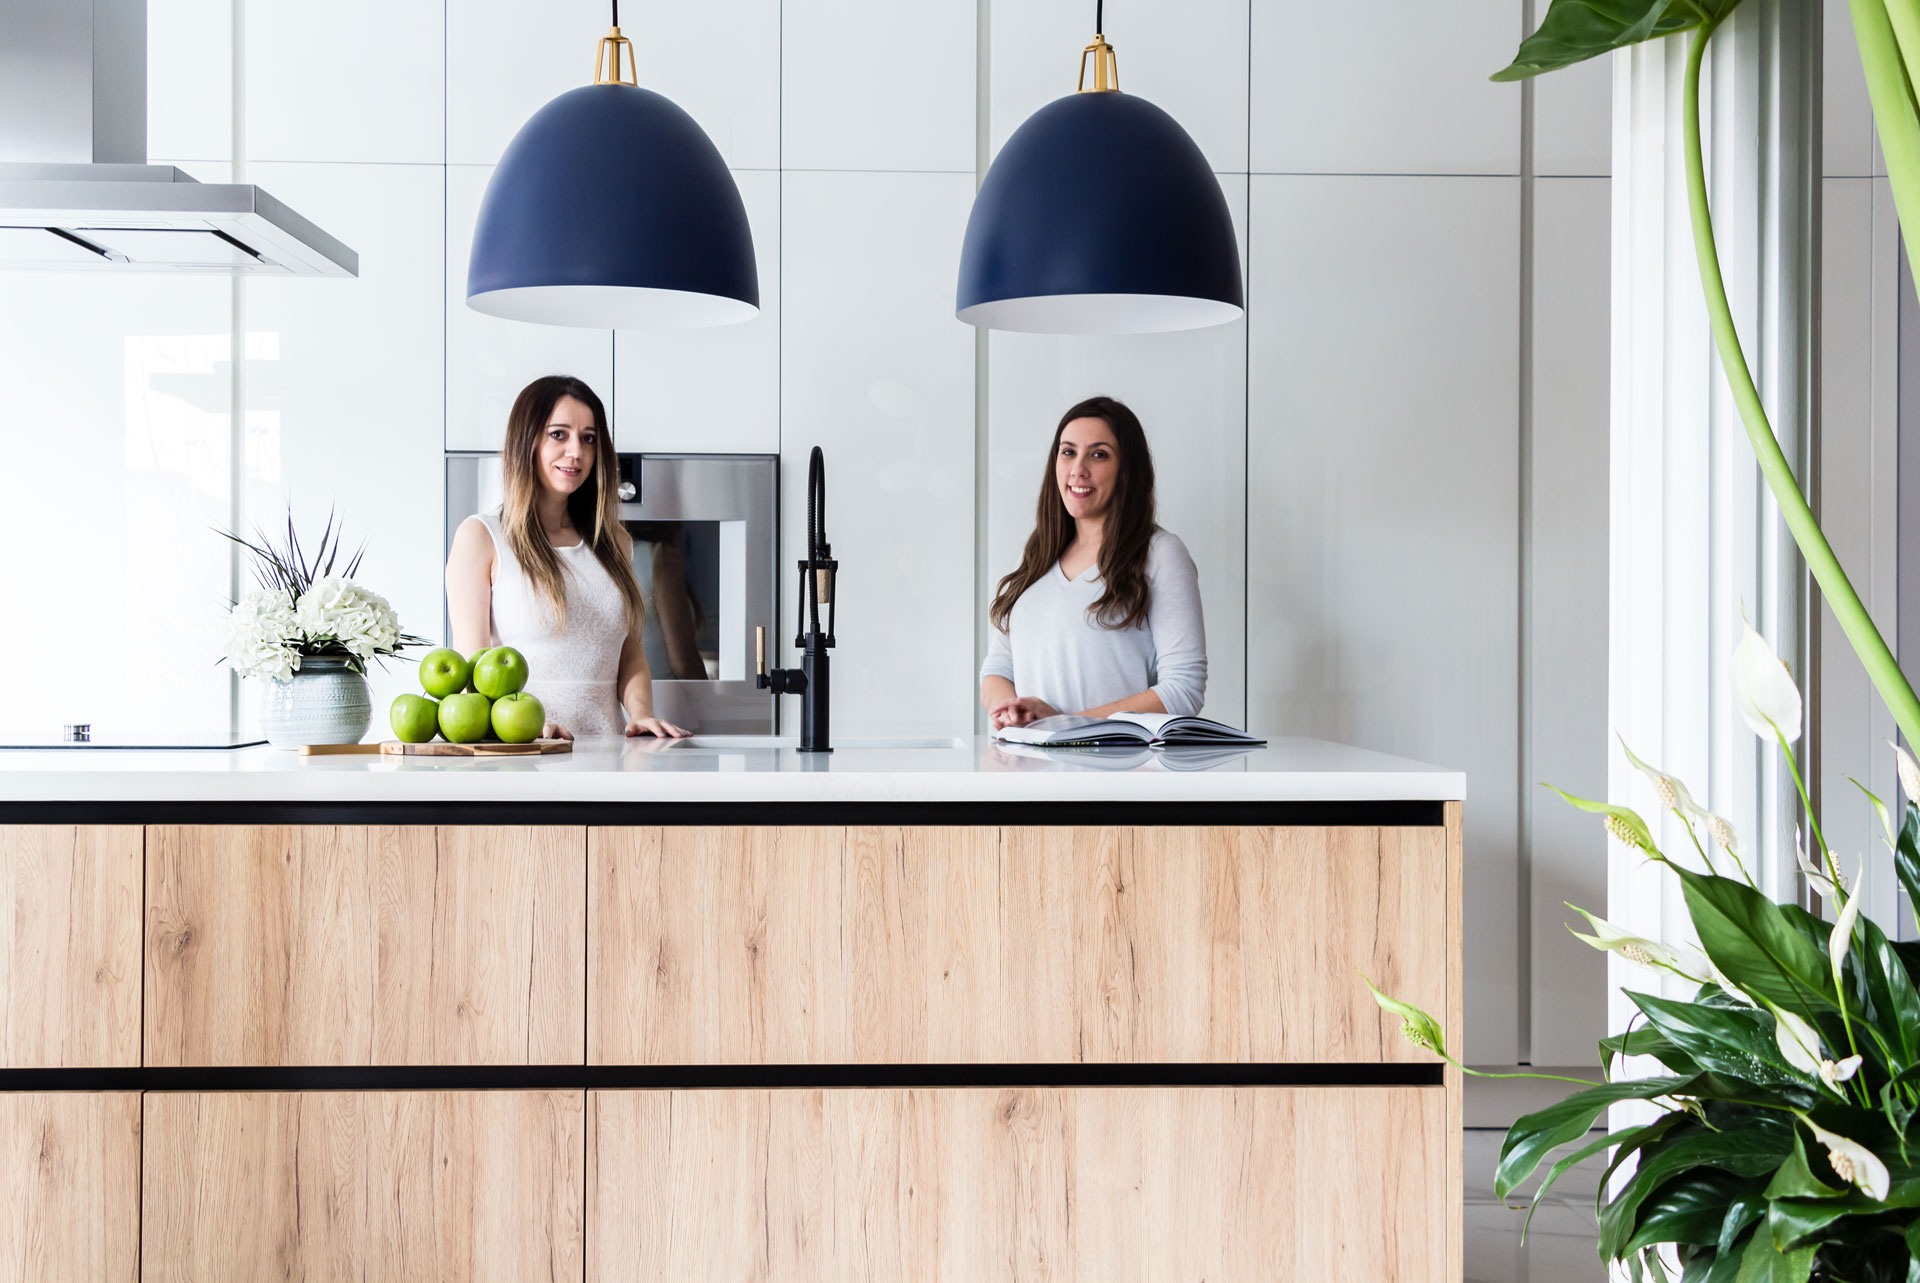
Last year, I decided to renovate my own kitchen. In this article, I’ll walk you through the process and the decisions behind it, step by step.
Start With What Actually Matters
Designing your home is personal. A beautiful kitchen that doesn’t function for you is just a collection of pretty cabinets. And we see that more often than you’d think, spaces that look great but don’t actually work for the people using them.
Before getting into the design itself, here’s something I’ve learned, both from designing kitchens for clients and from renovating my own. Think about how you cook, what appliances you use, how many people share the space, and what your daily routine looks like. This is where every successful kitchen design begins.
Here’s a quick tip: knowing what doesn’t work is just as important as knowing what you want. Make a list of everything you love and hate about your current kitchen. It helps guide decisions and keeps you focused during the renovation.
Why the Change
The original kitchen was outdated, lacked proper storage, and the hardware was starting to deteriorate. It also made everyday use feel more complicated than it should be. Take a look at the drastic transformation below.
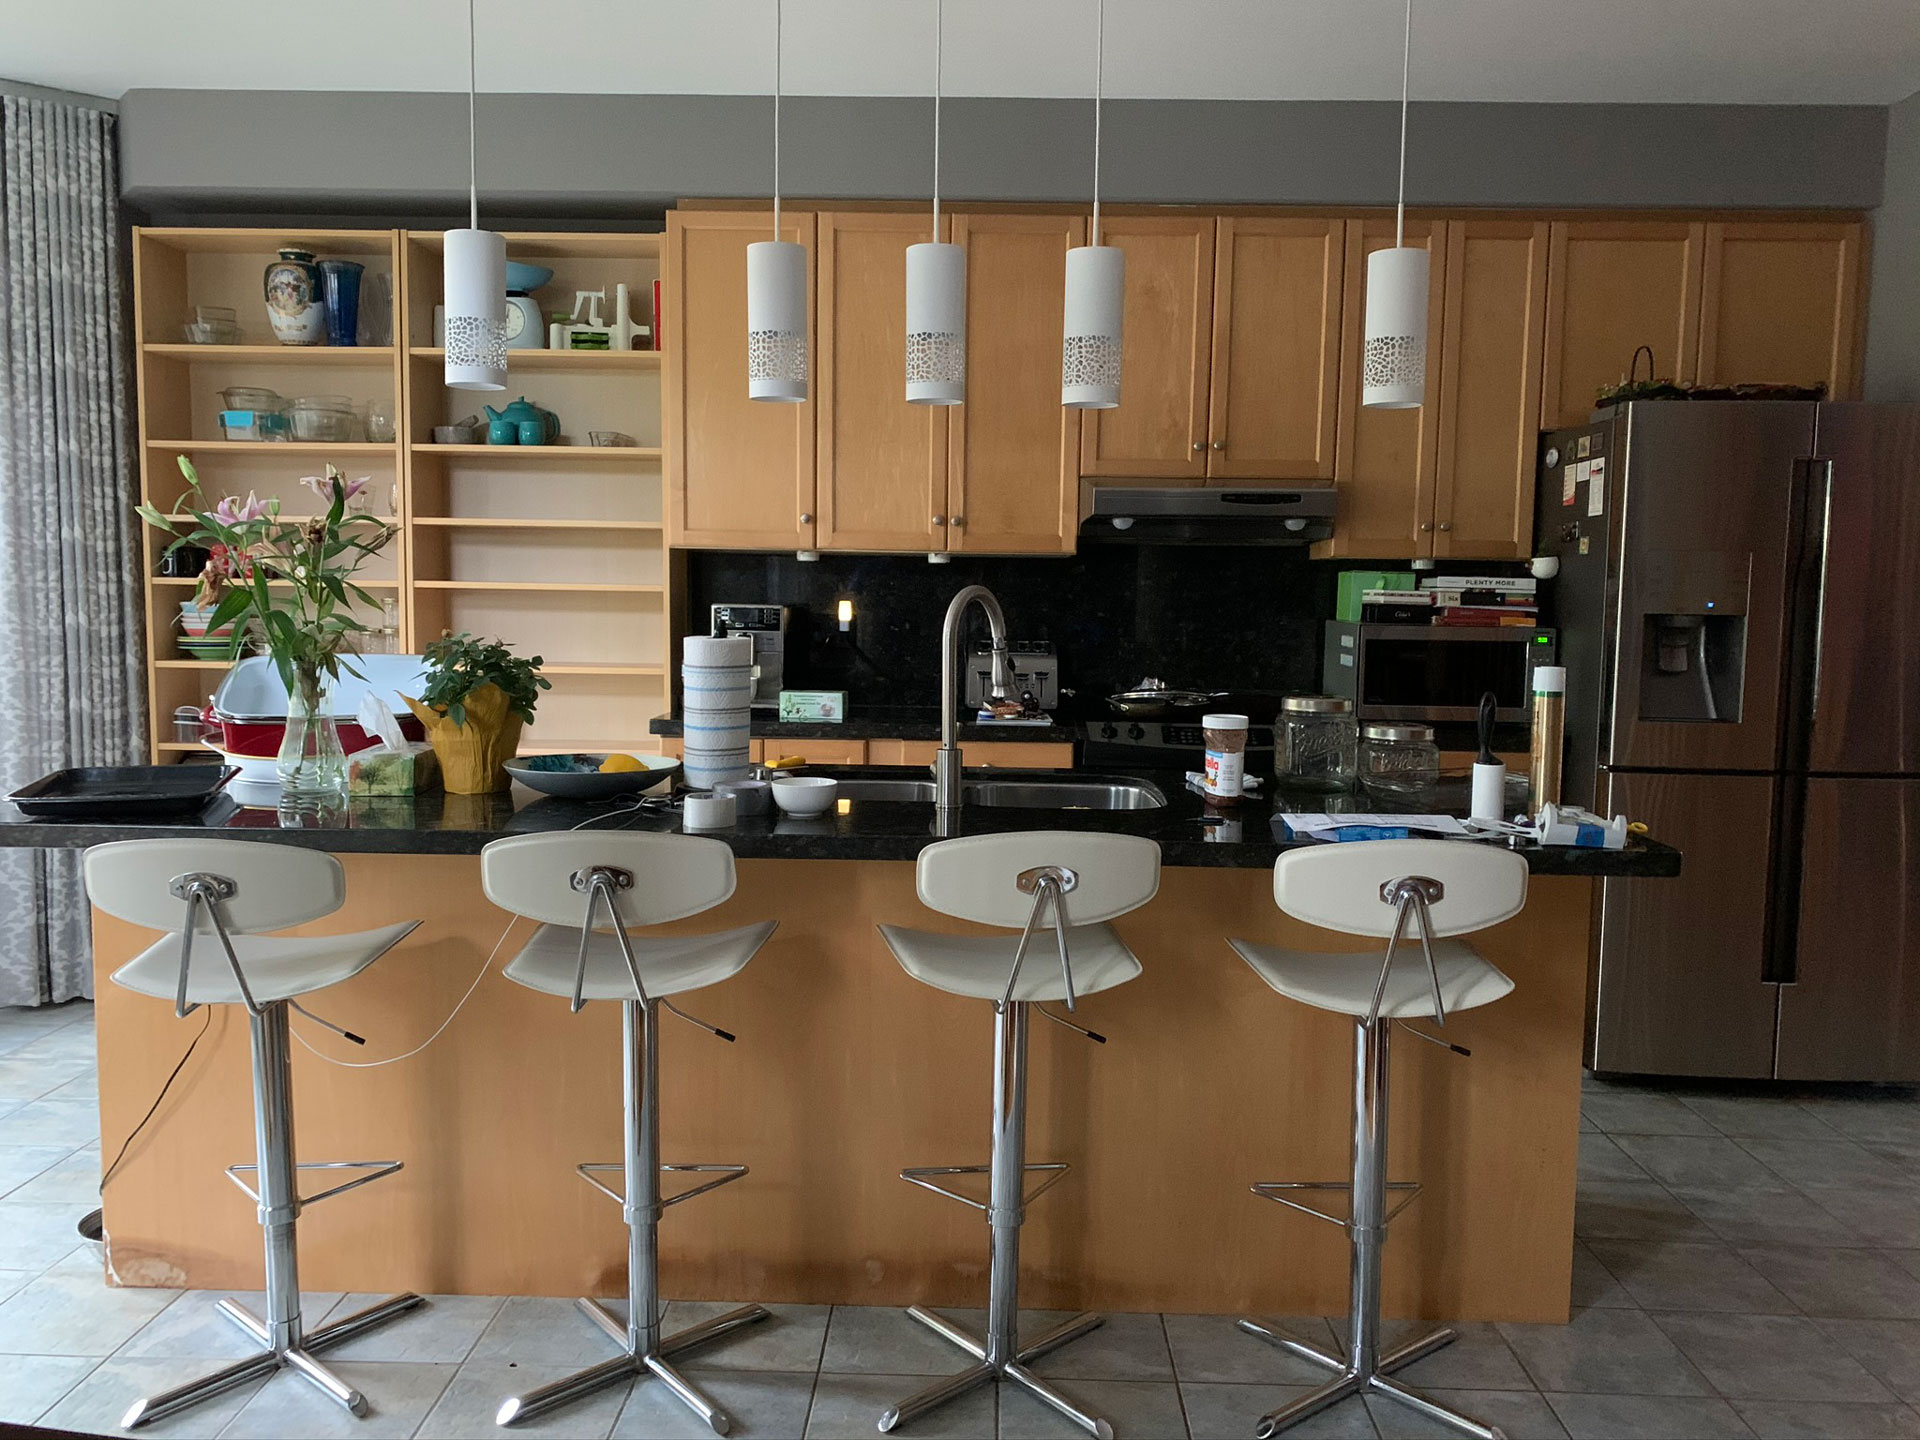
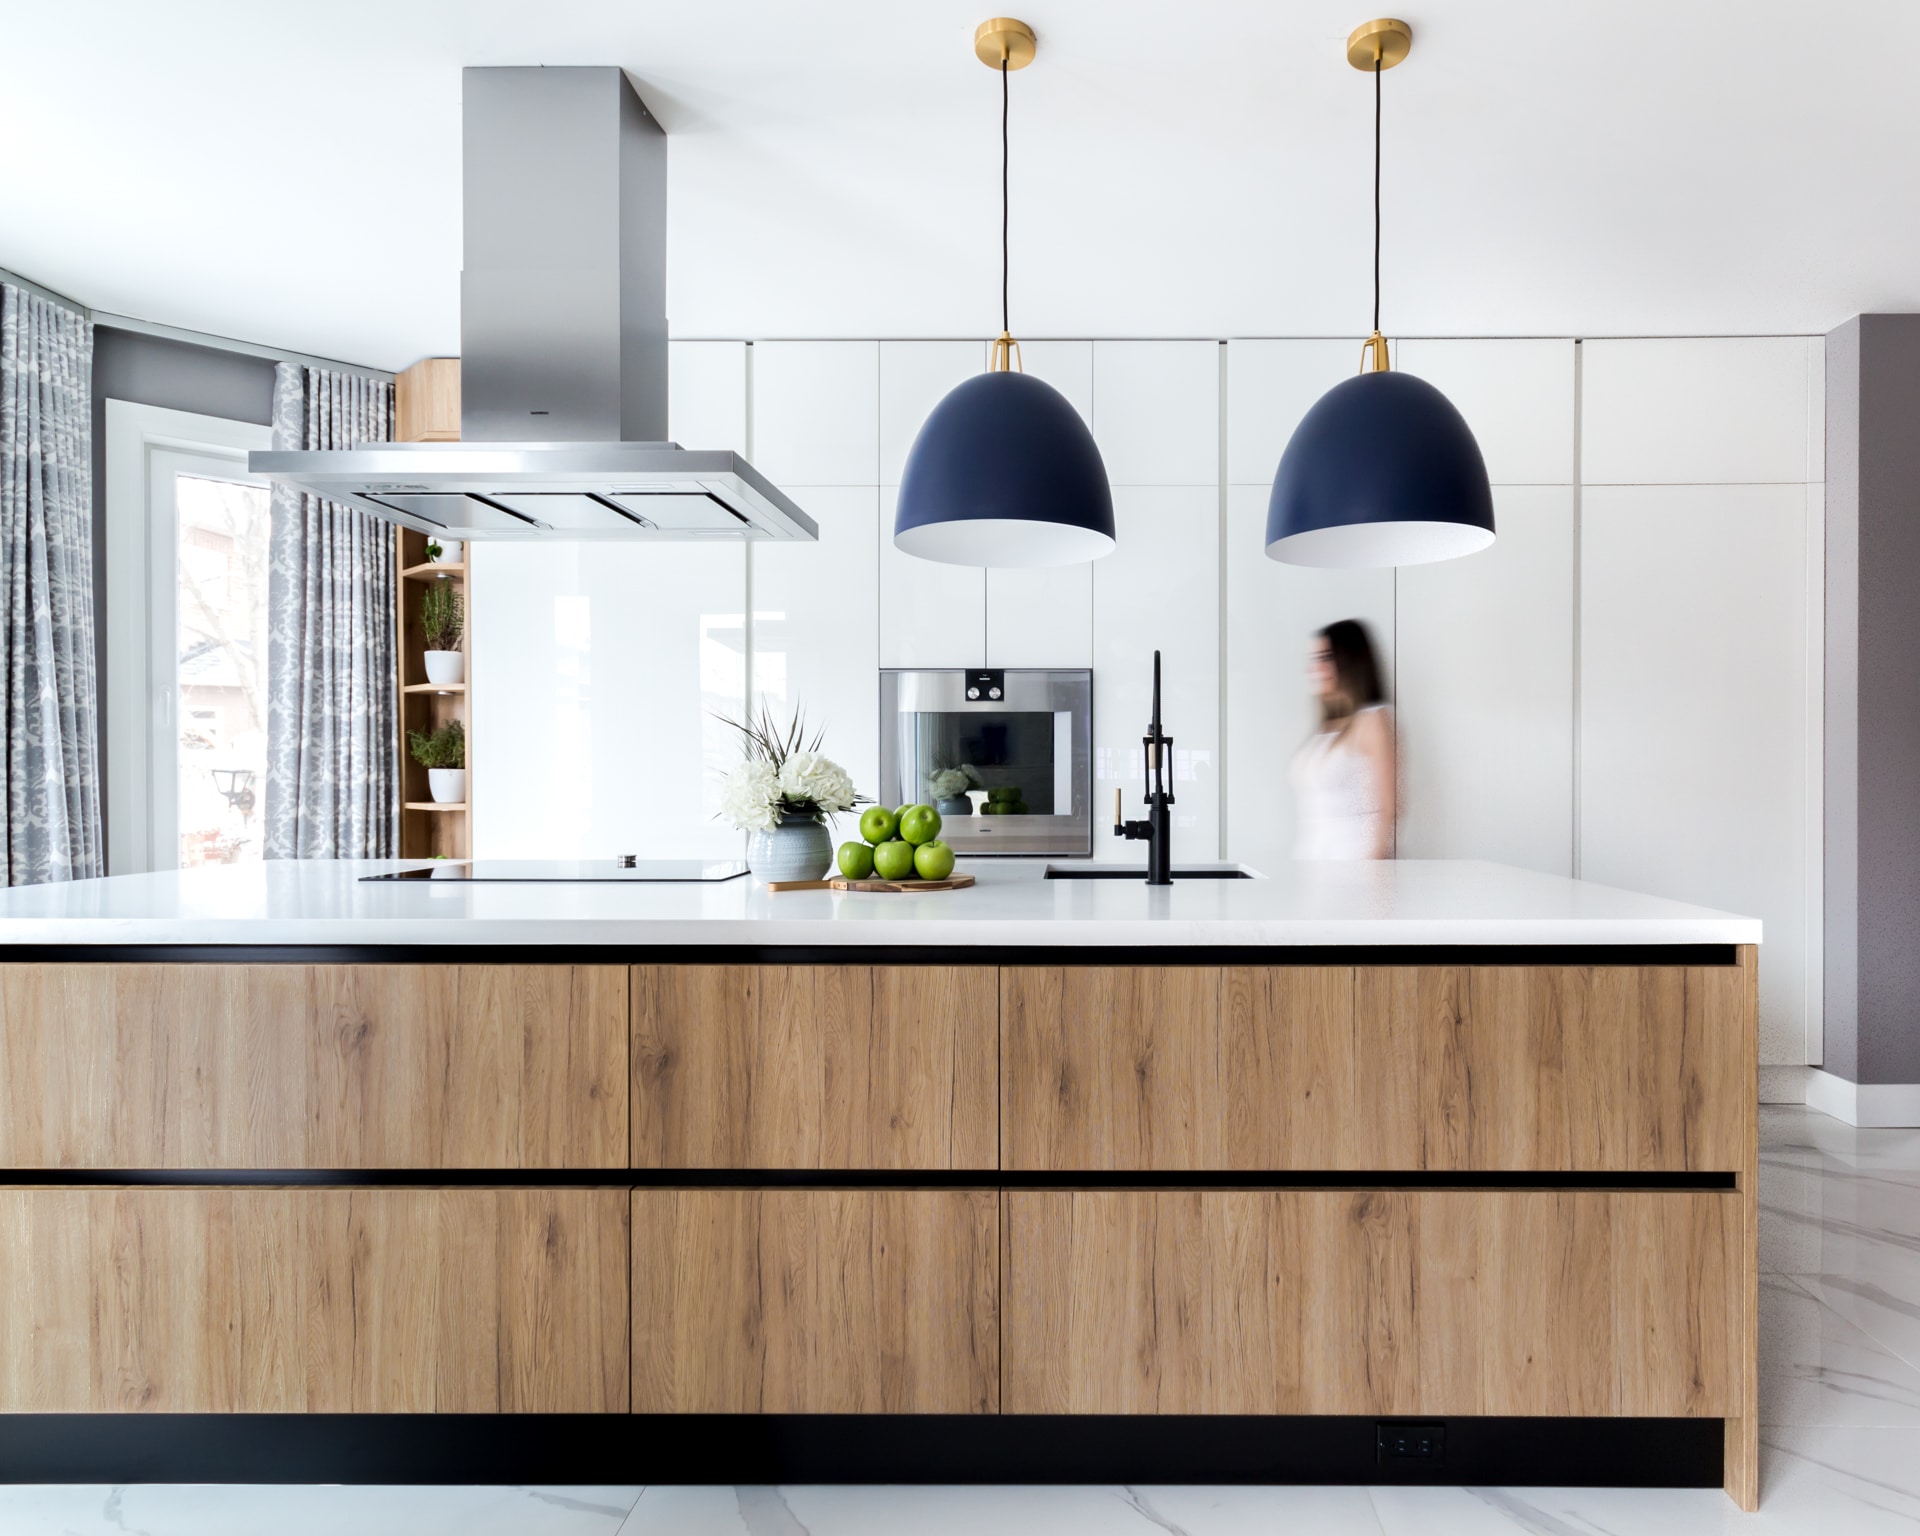
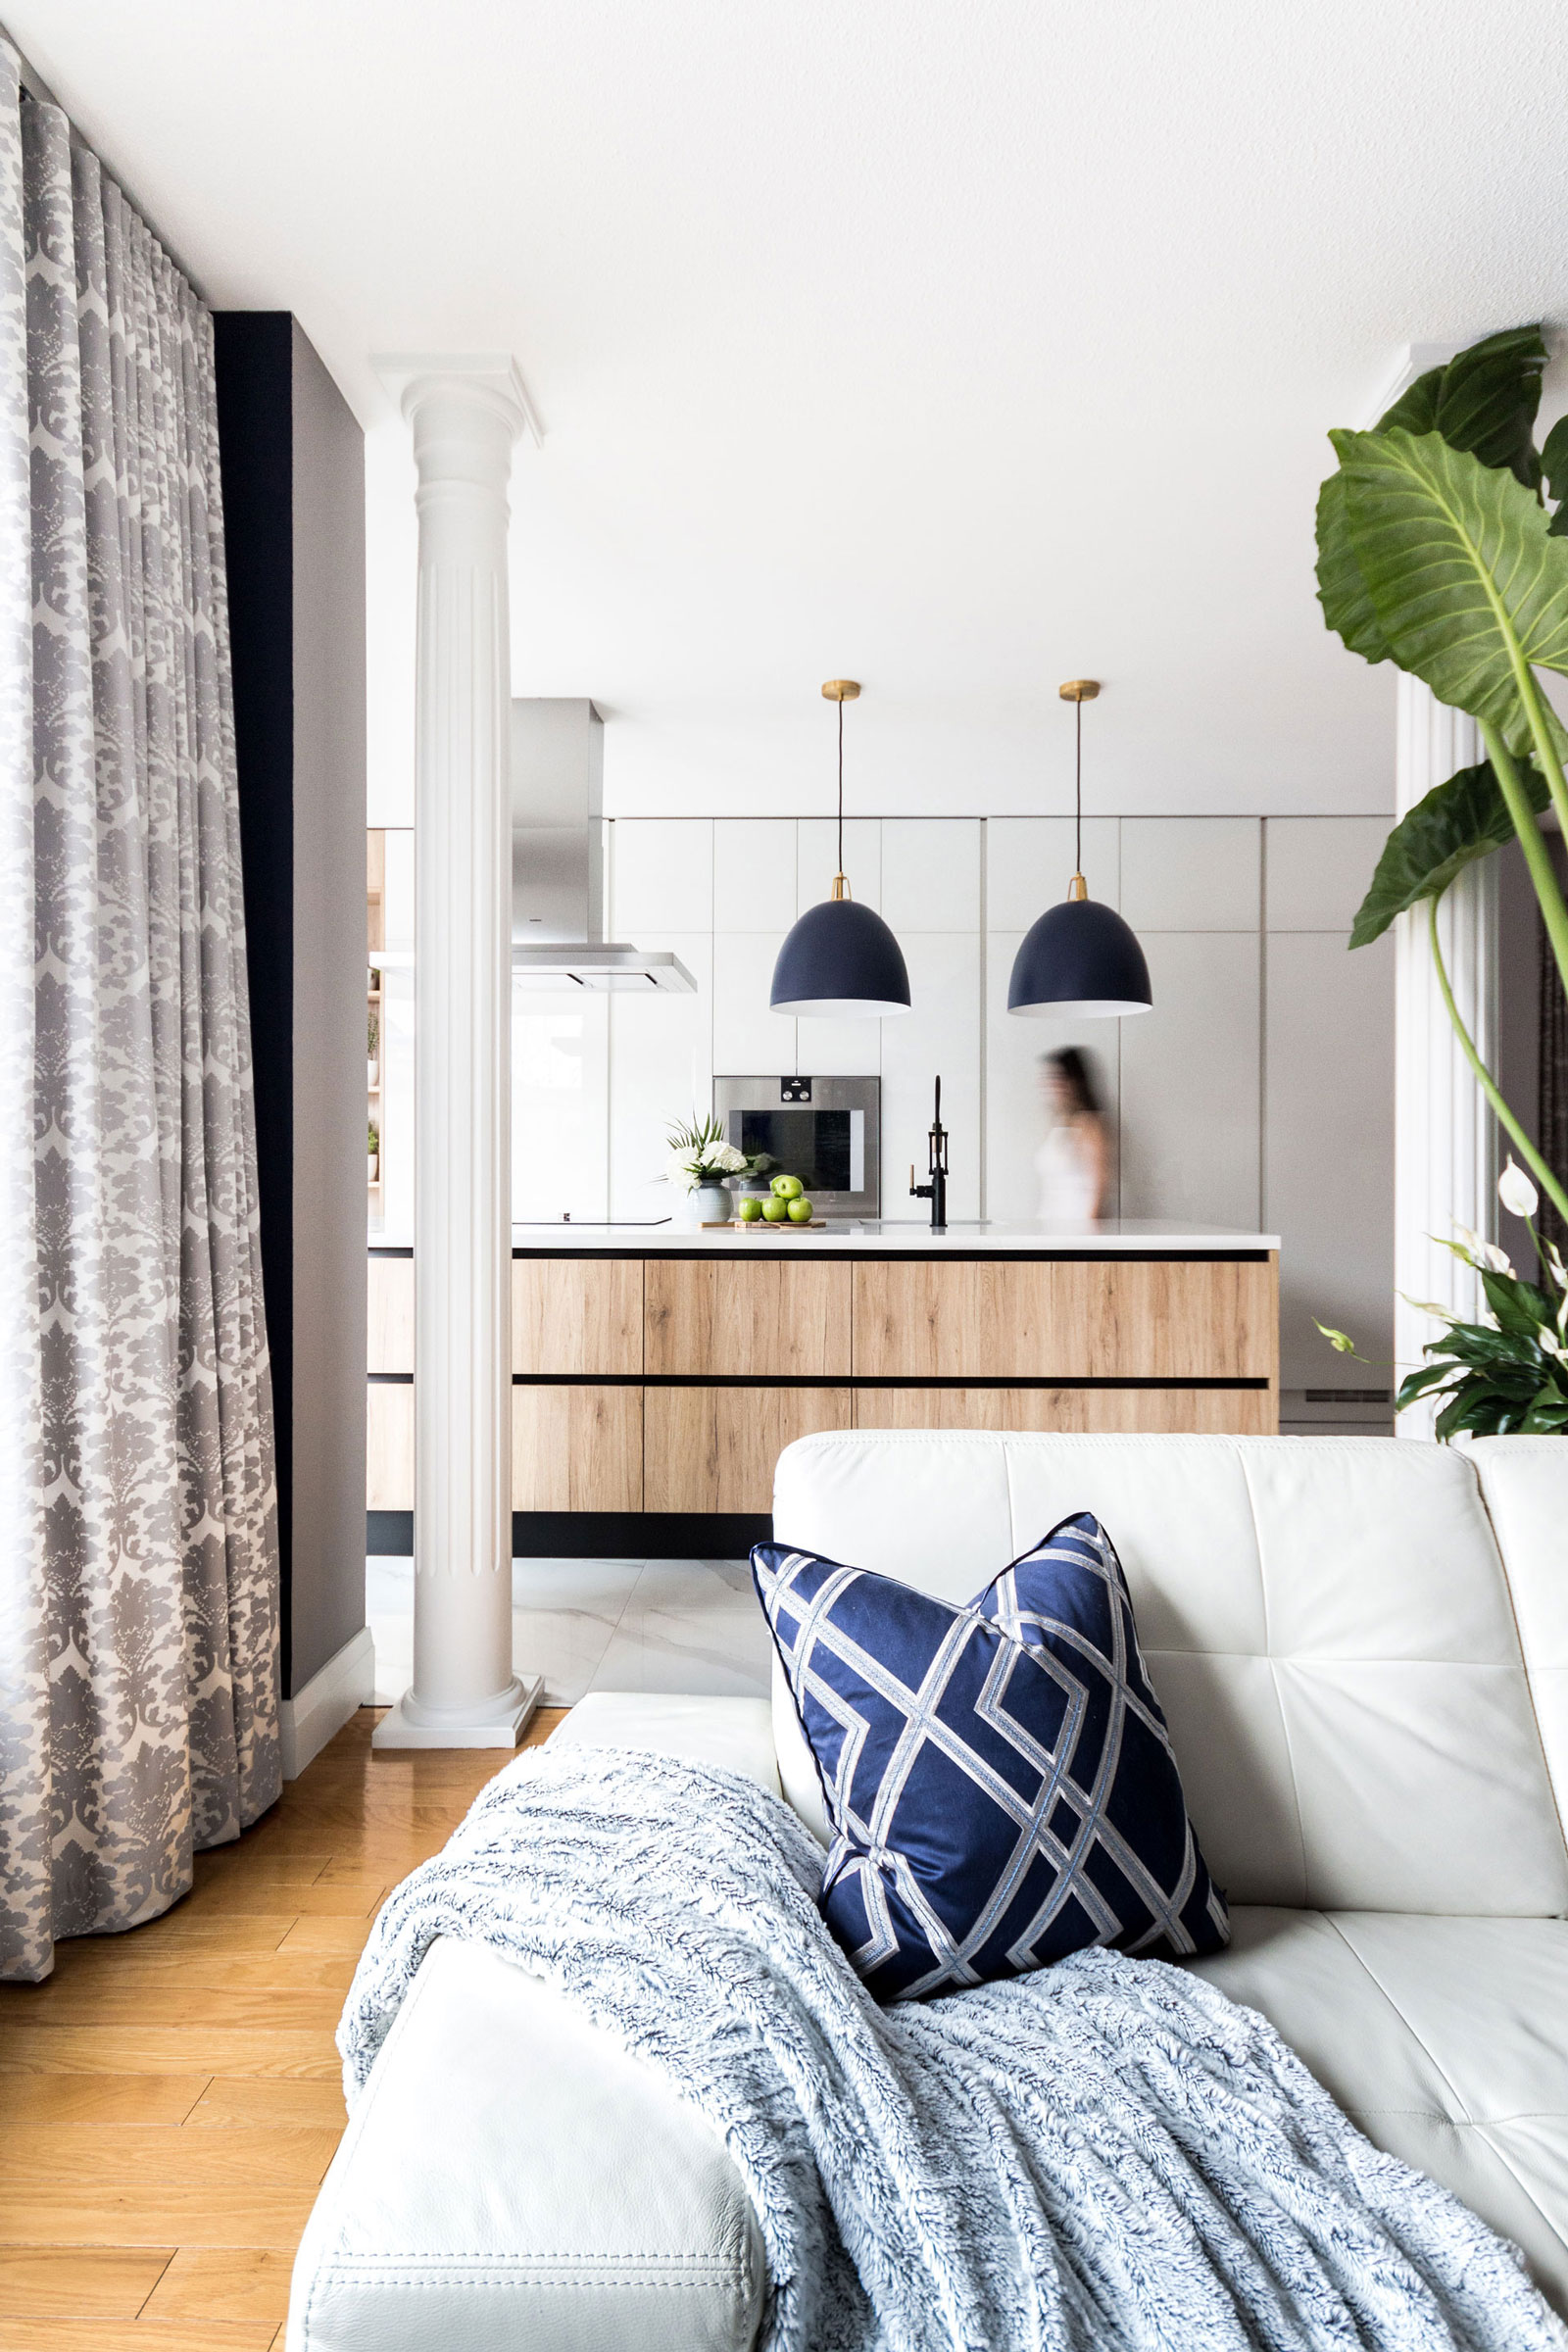
When I started designing the space, three priorities guided every decision. Everything needed to be enclosed, but with purpose. The cooking area needed to face the living room, and the space needed a glossy white finish. We’ll get into all of that, but first let’s talk about the layout and proportions.
The Vellore Village Kitchen Design: Layout, Functions, and Challenges
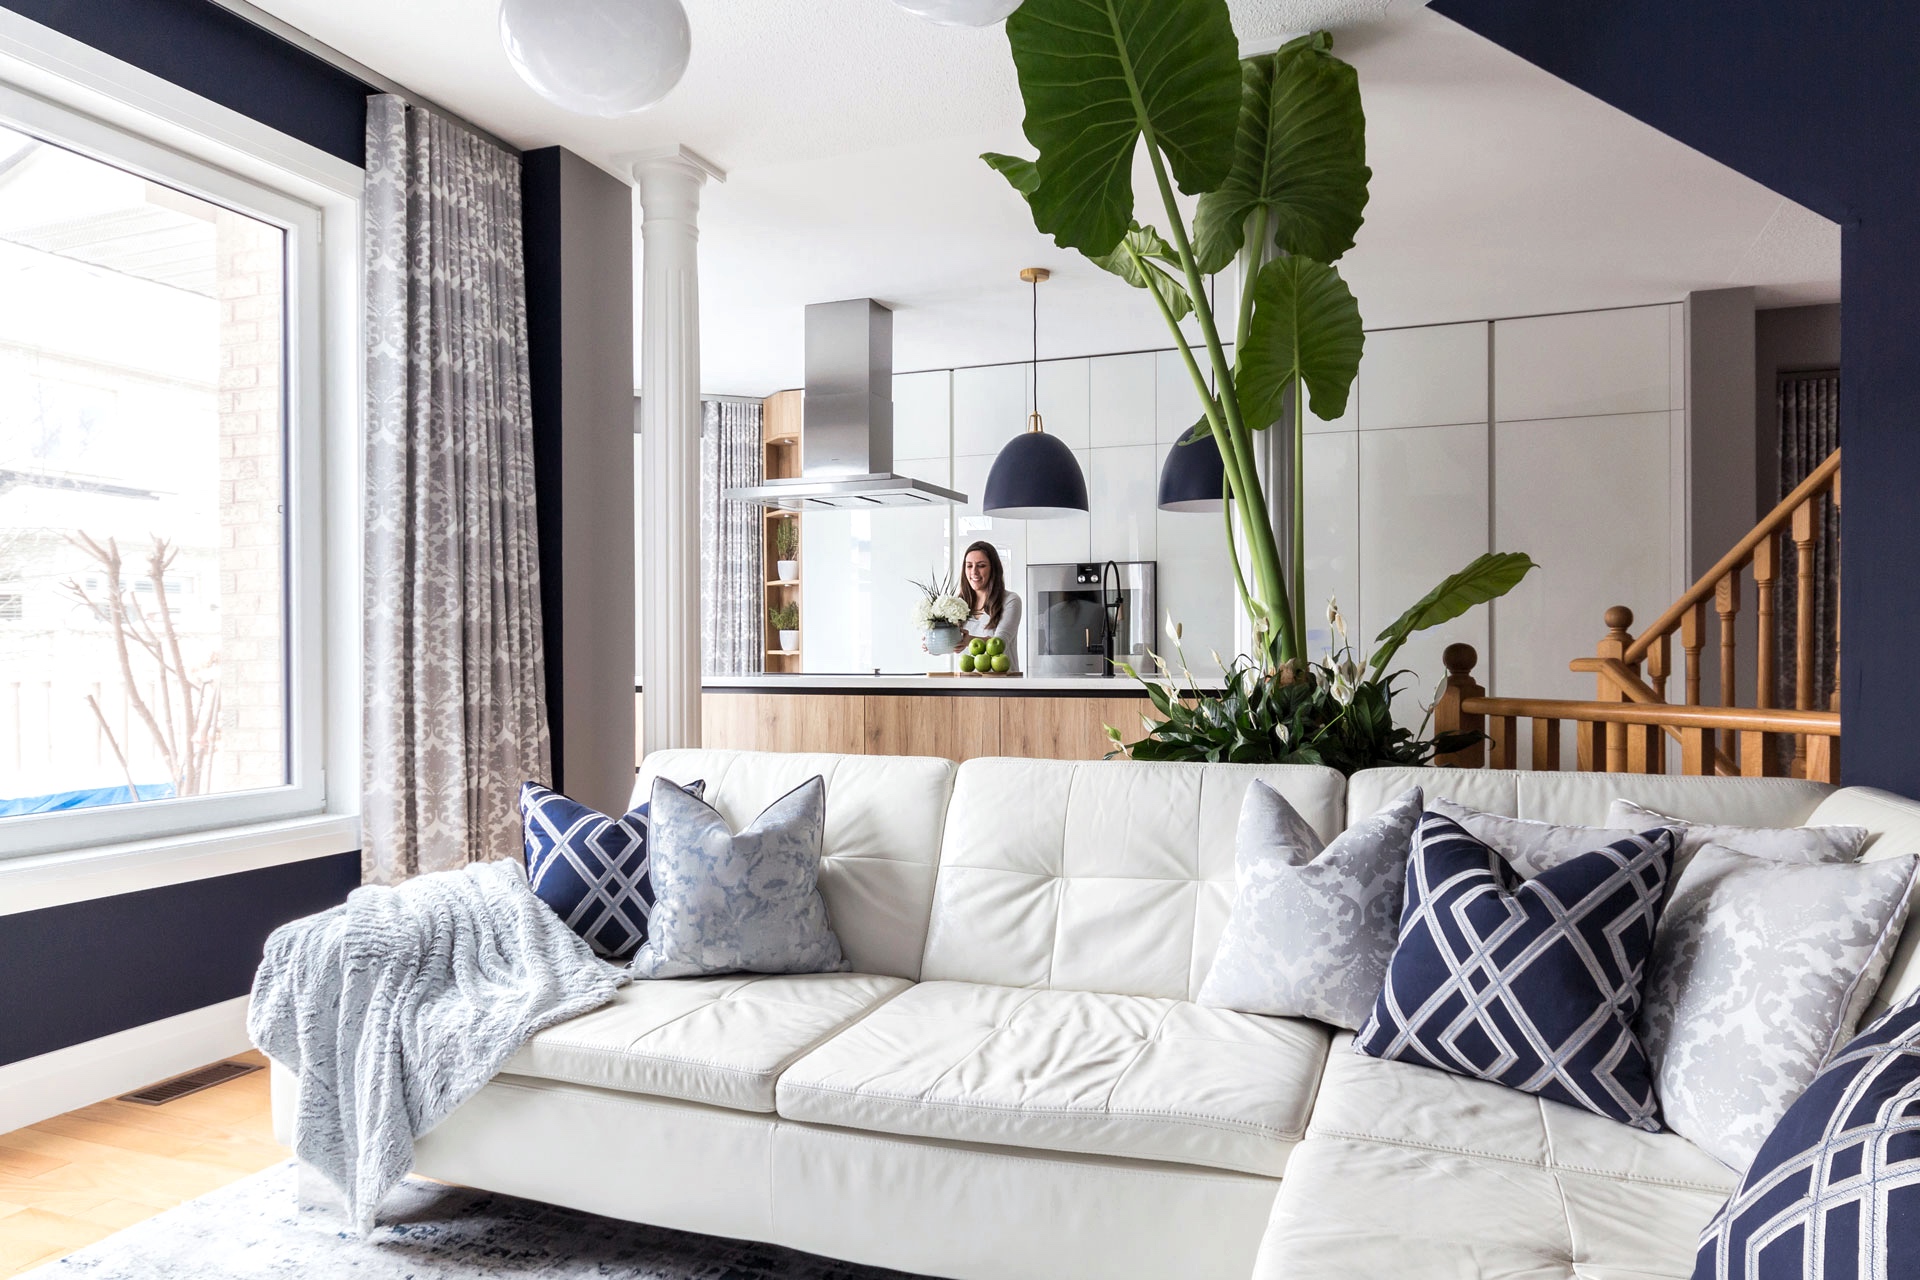
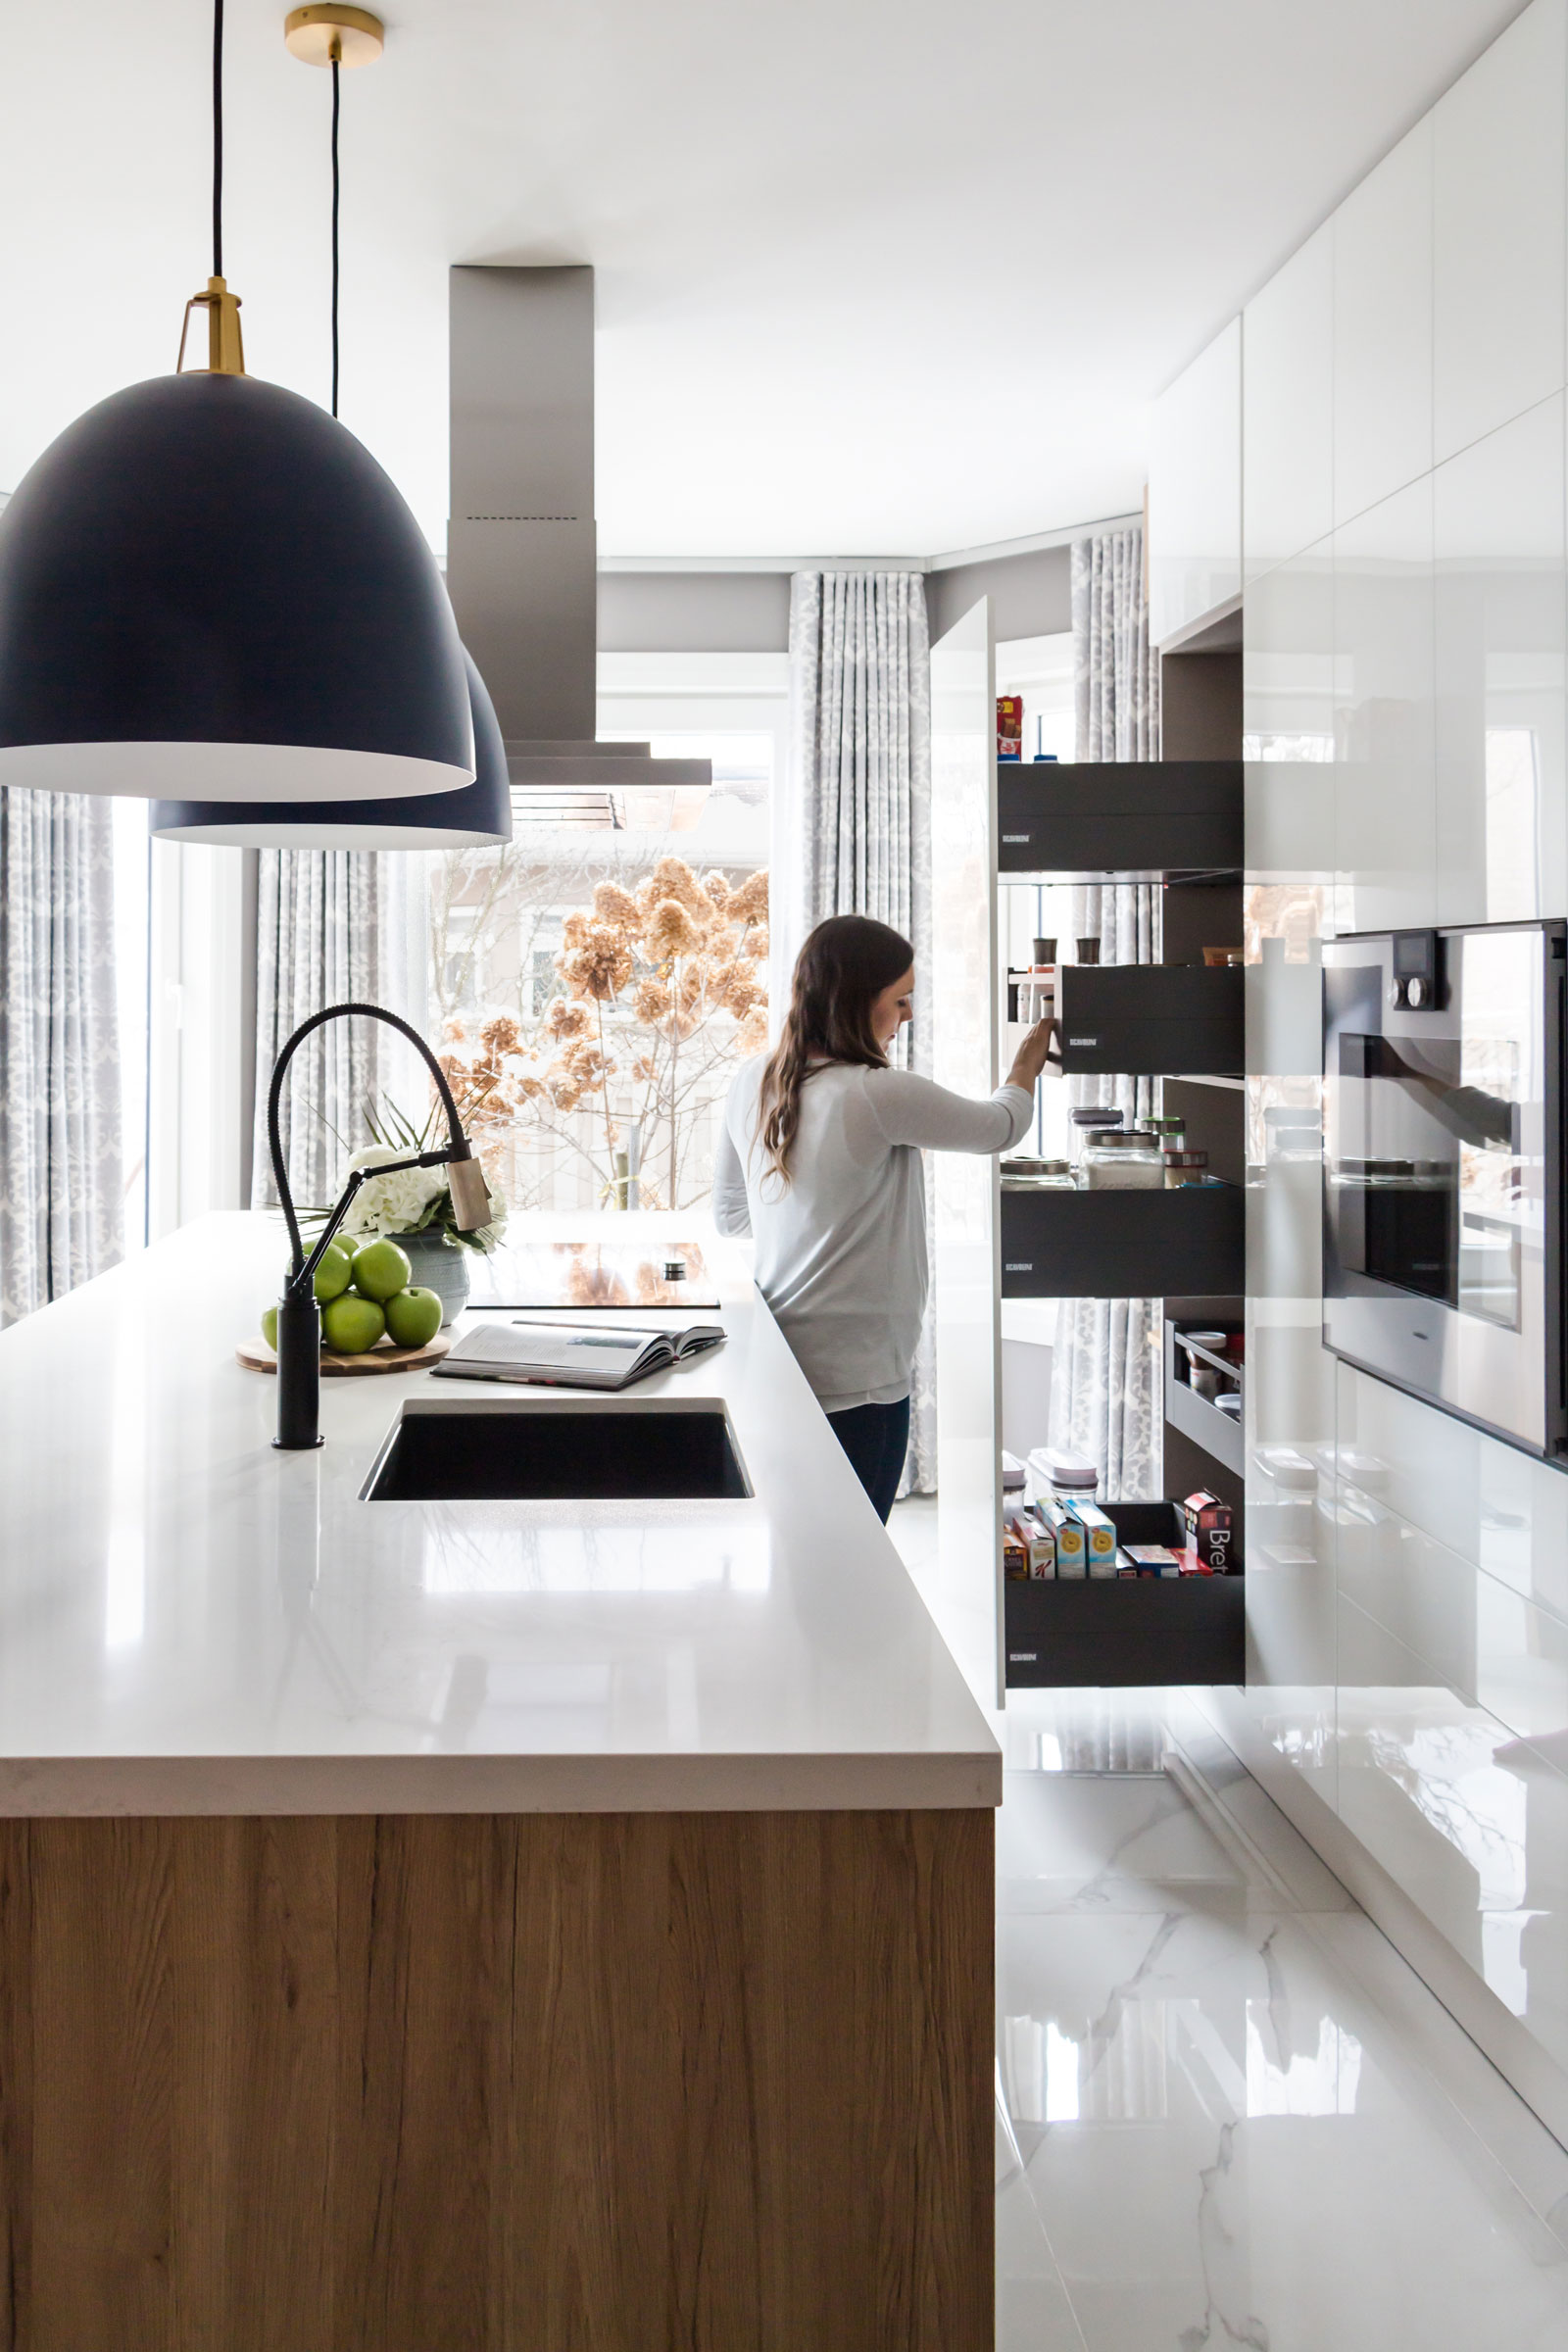
For reference, the pantry wall is 18′ long, with a 3′-10” x 10’ island. The kitchen is proportionate to this 2020 sq. ft. home, but it’s not considered large. The layout itself is simple. An enclosed pantry wall on one side, and the cooking station on the island. Originally, the cooktop faced the wall, something we see often. The downside? Cooking became an isolated experience with your back turned to the rest of the home.
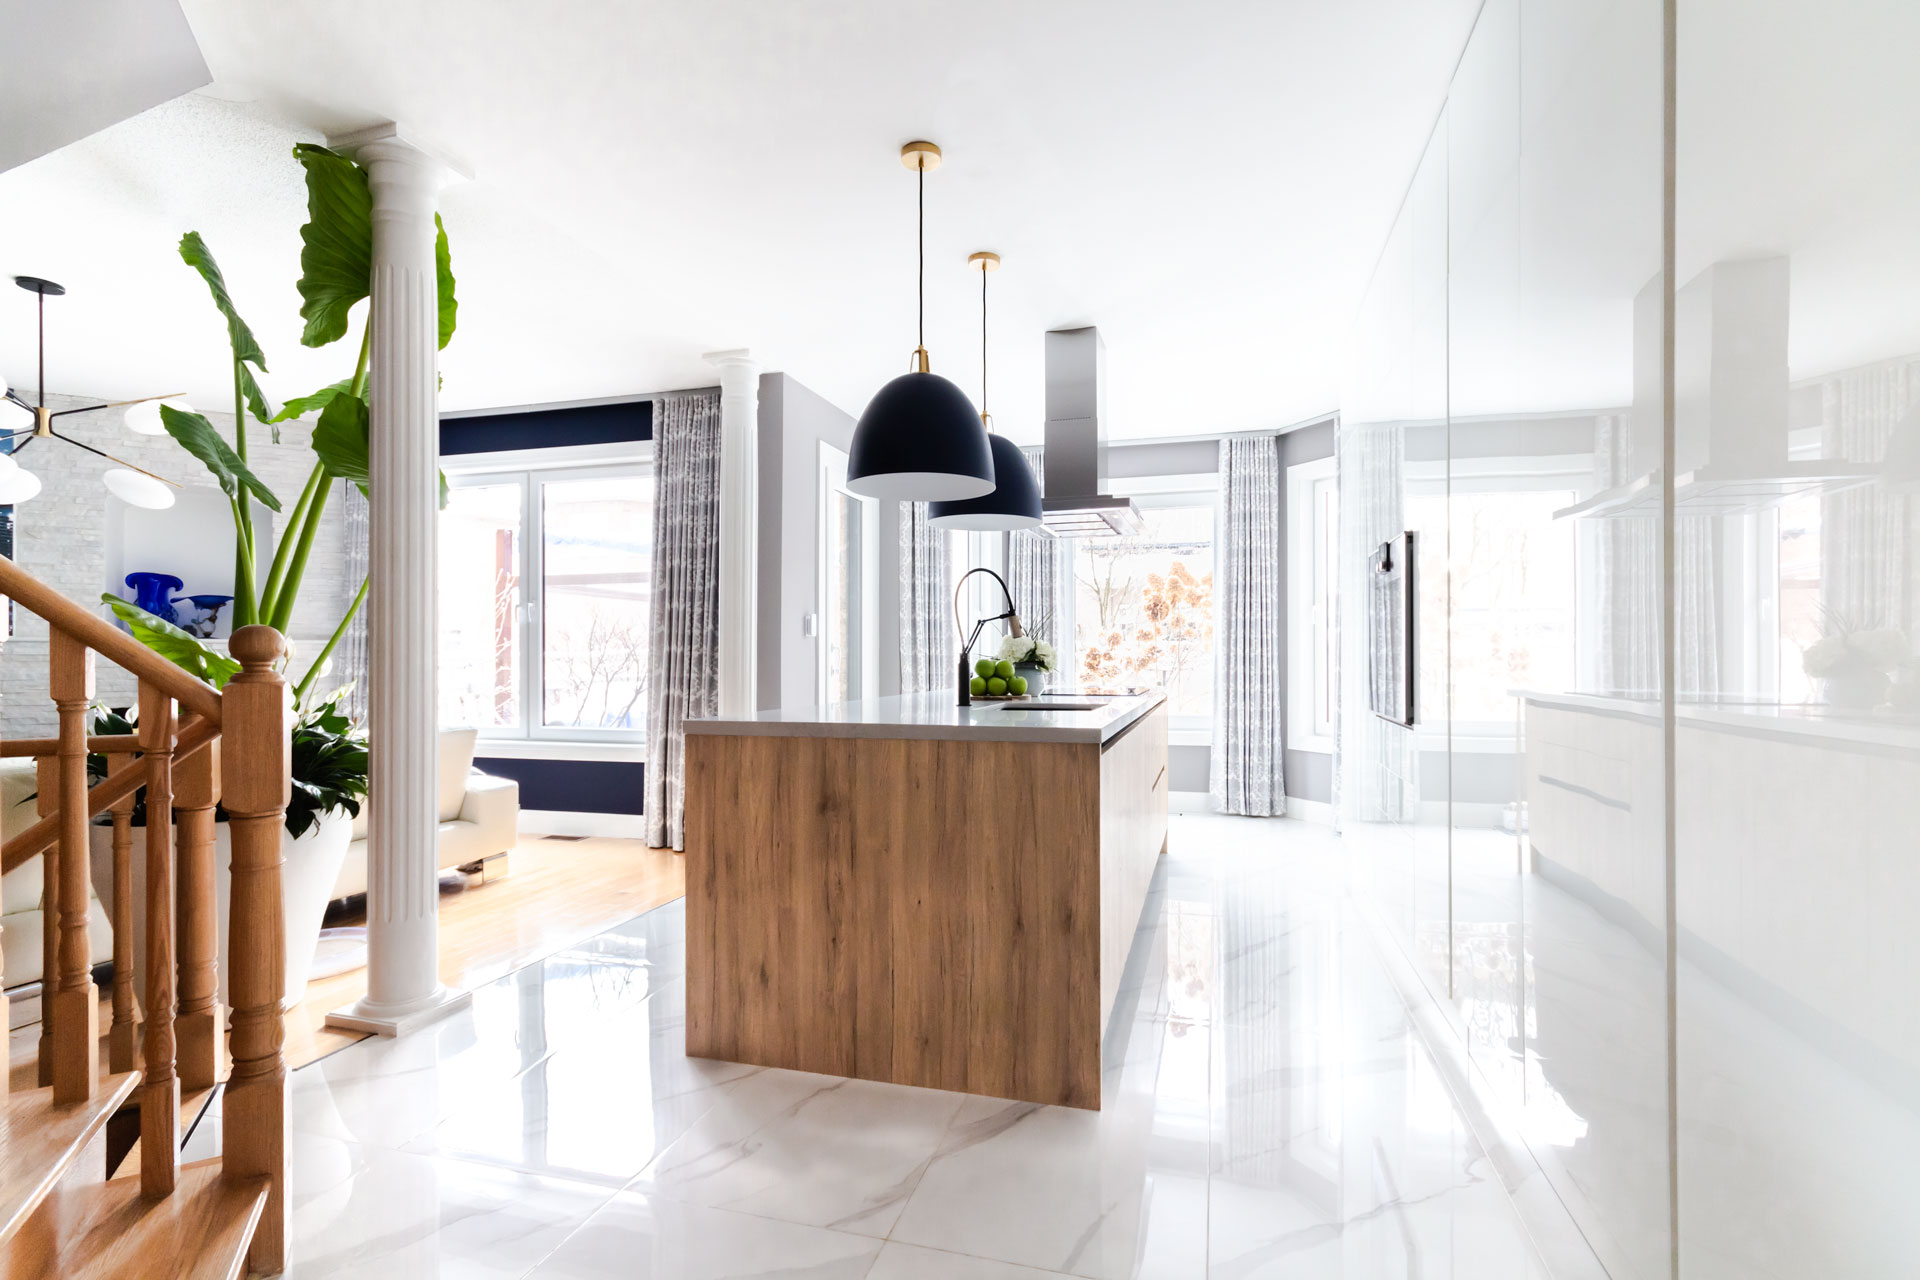
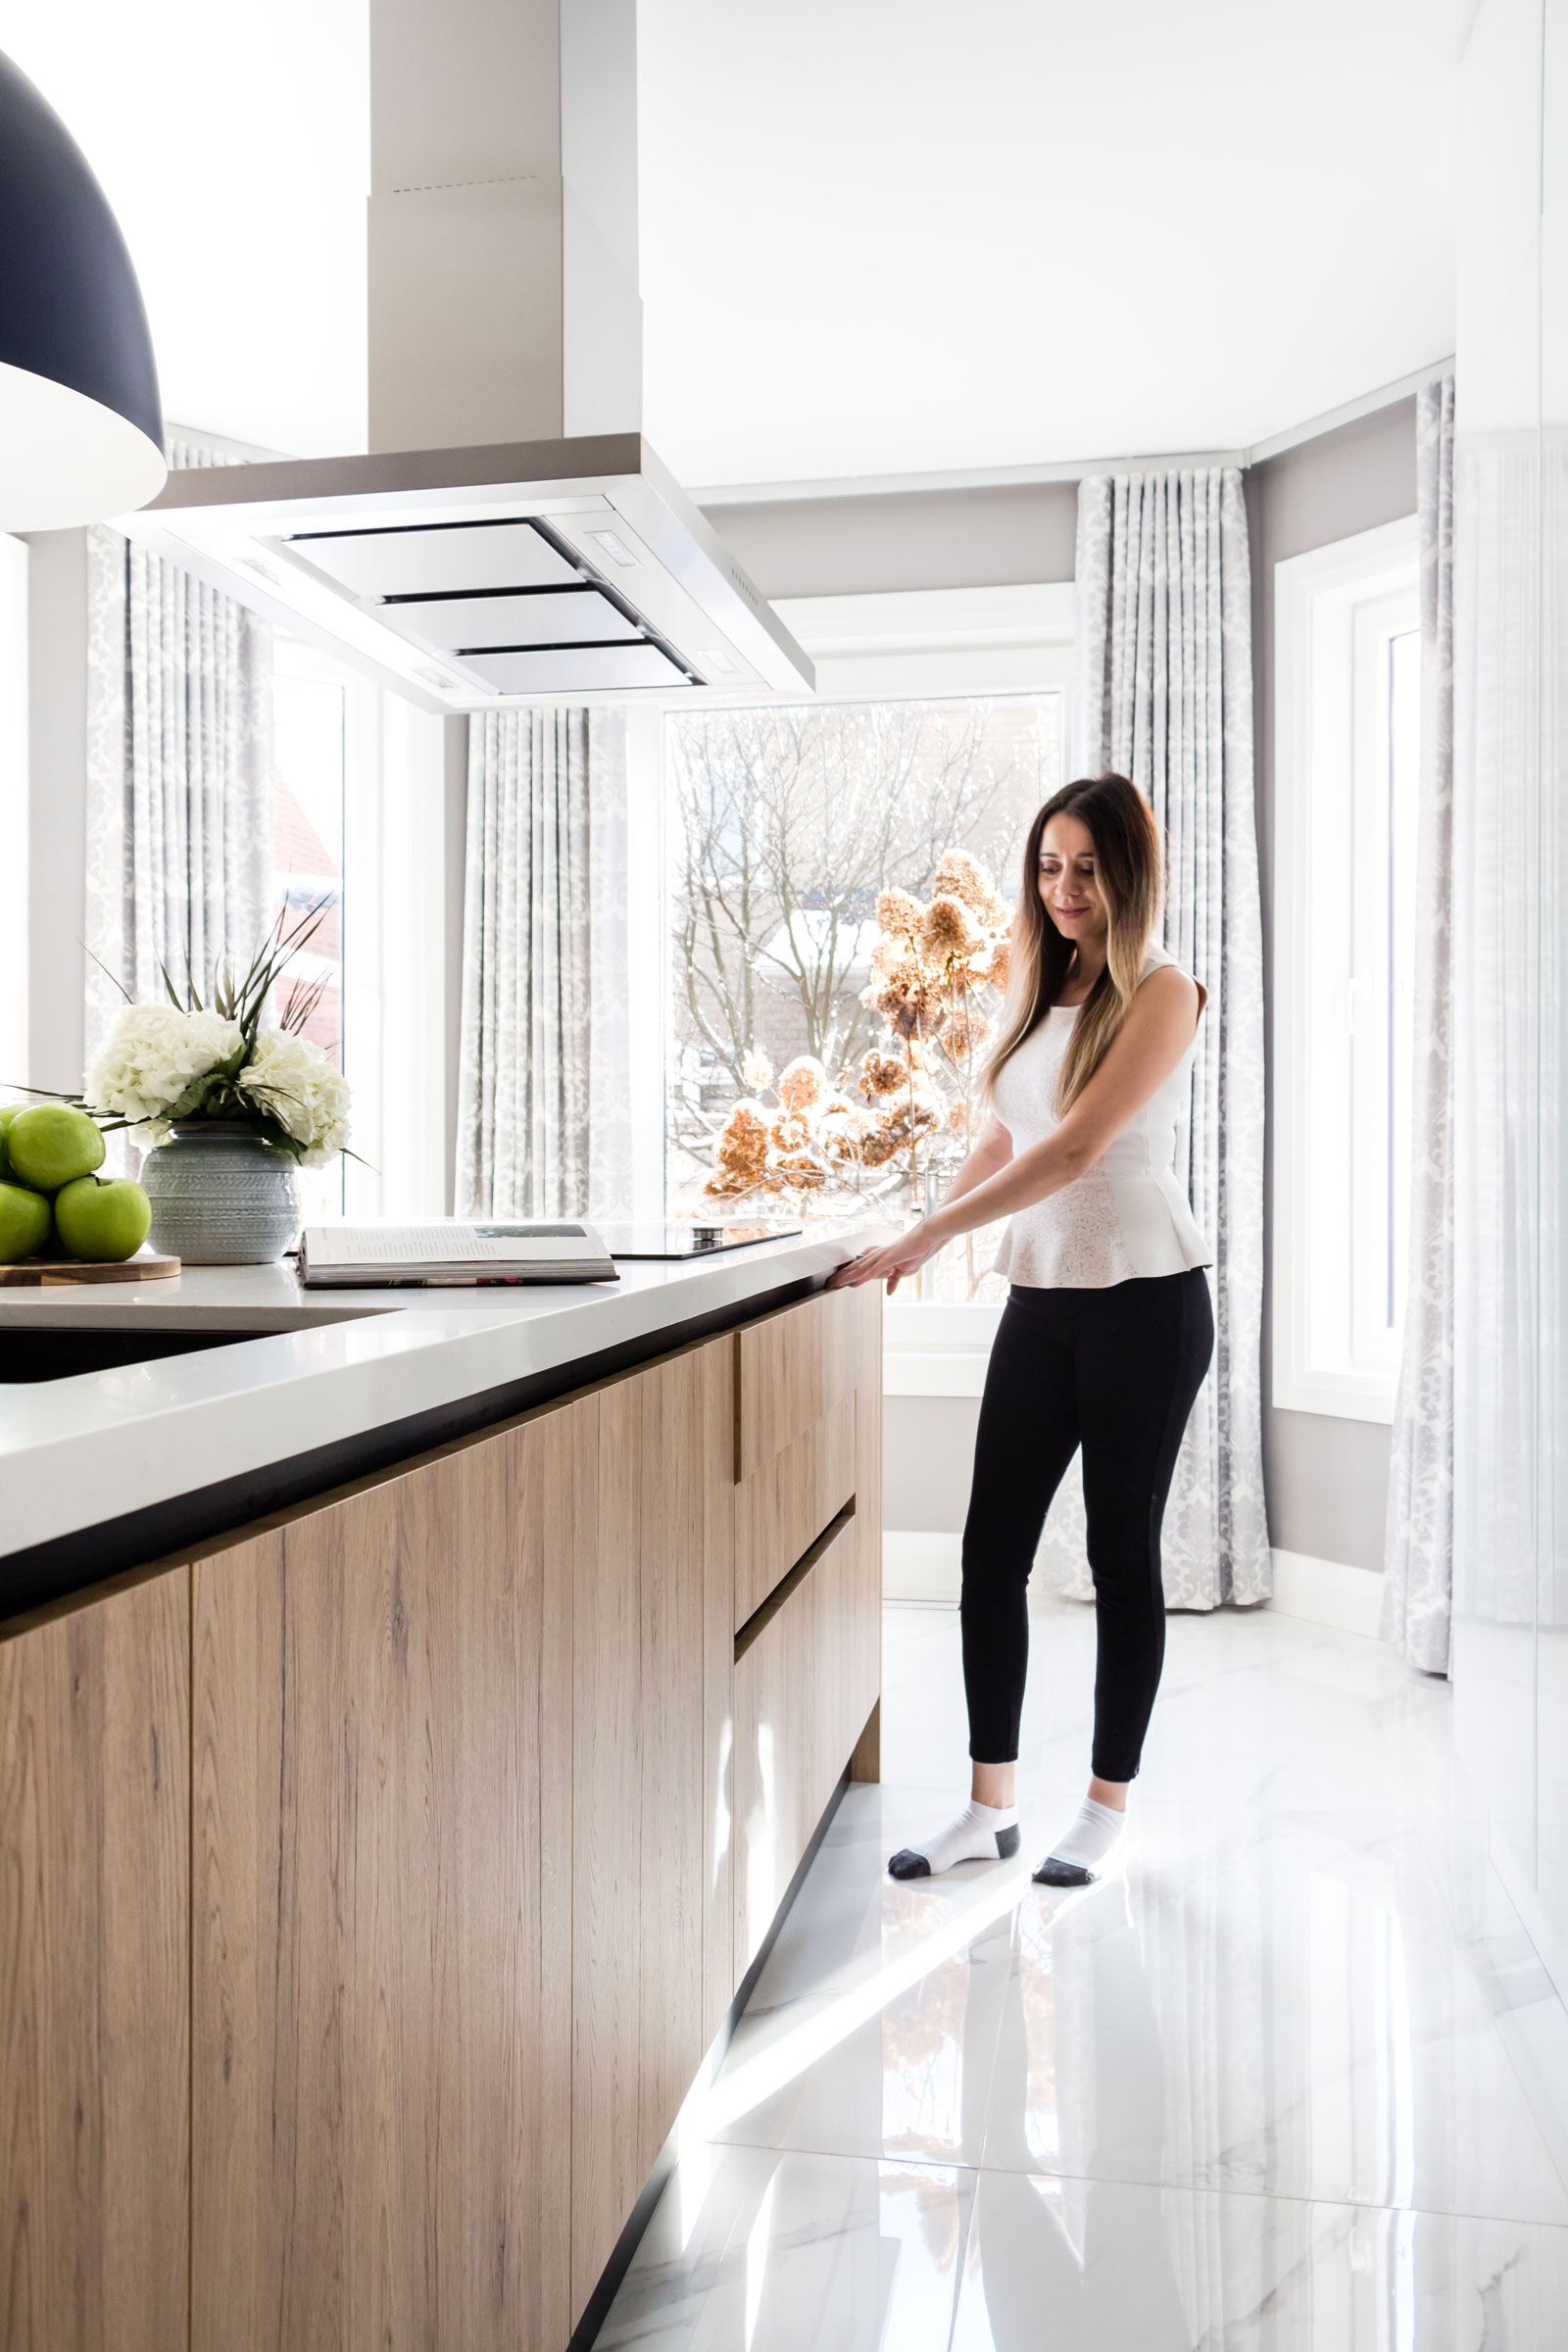
By moving the cooktop onto the island, the kitchen instantly became more connected. Now we can cook, chat, and still be part of everything happening around us. And as a bonus, there is now a full view of the backyard, including the occasional squirrel sighting. A small change that made a surprisingly big difference. If you’re researching kitchen design ideas, rethinking how the kitchen connects to the rest of the house is one of the most powerful upgrades you can make.

Solving Awkward Features
One challenge I had to work around was the bay window, which meant creating a shallow cabinet. Instead of forcing unnecessary storage, I decided to turn it into an opportunity. It became an open shelf for herbs, something we reach for almost every day. Fresh herbs right beside the cooktop may sound like a small detail, but those little everyday moments often make the biggest difference.
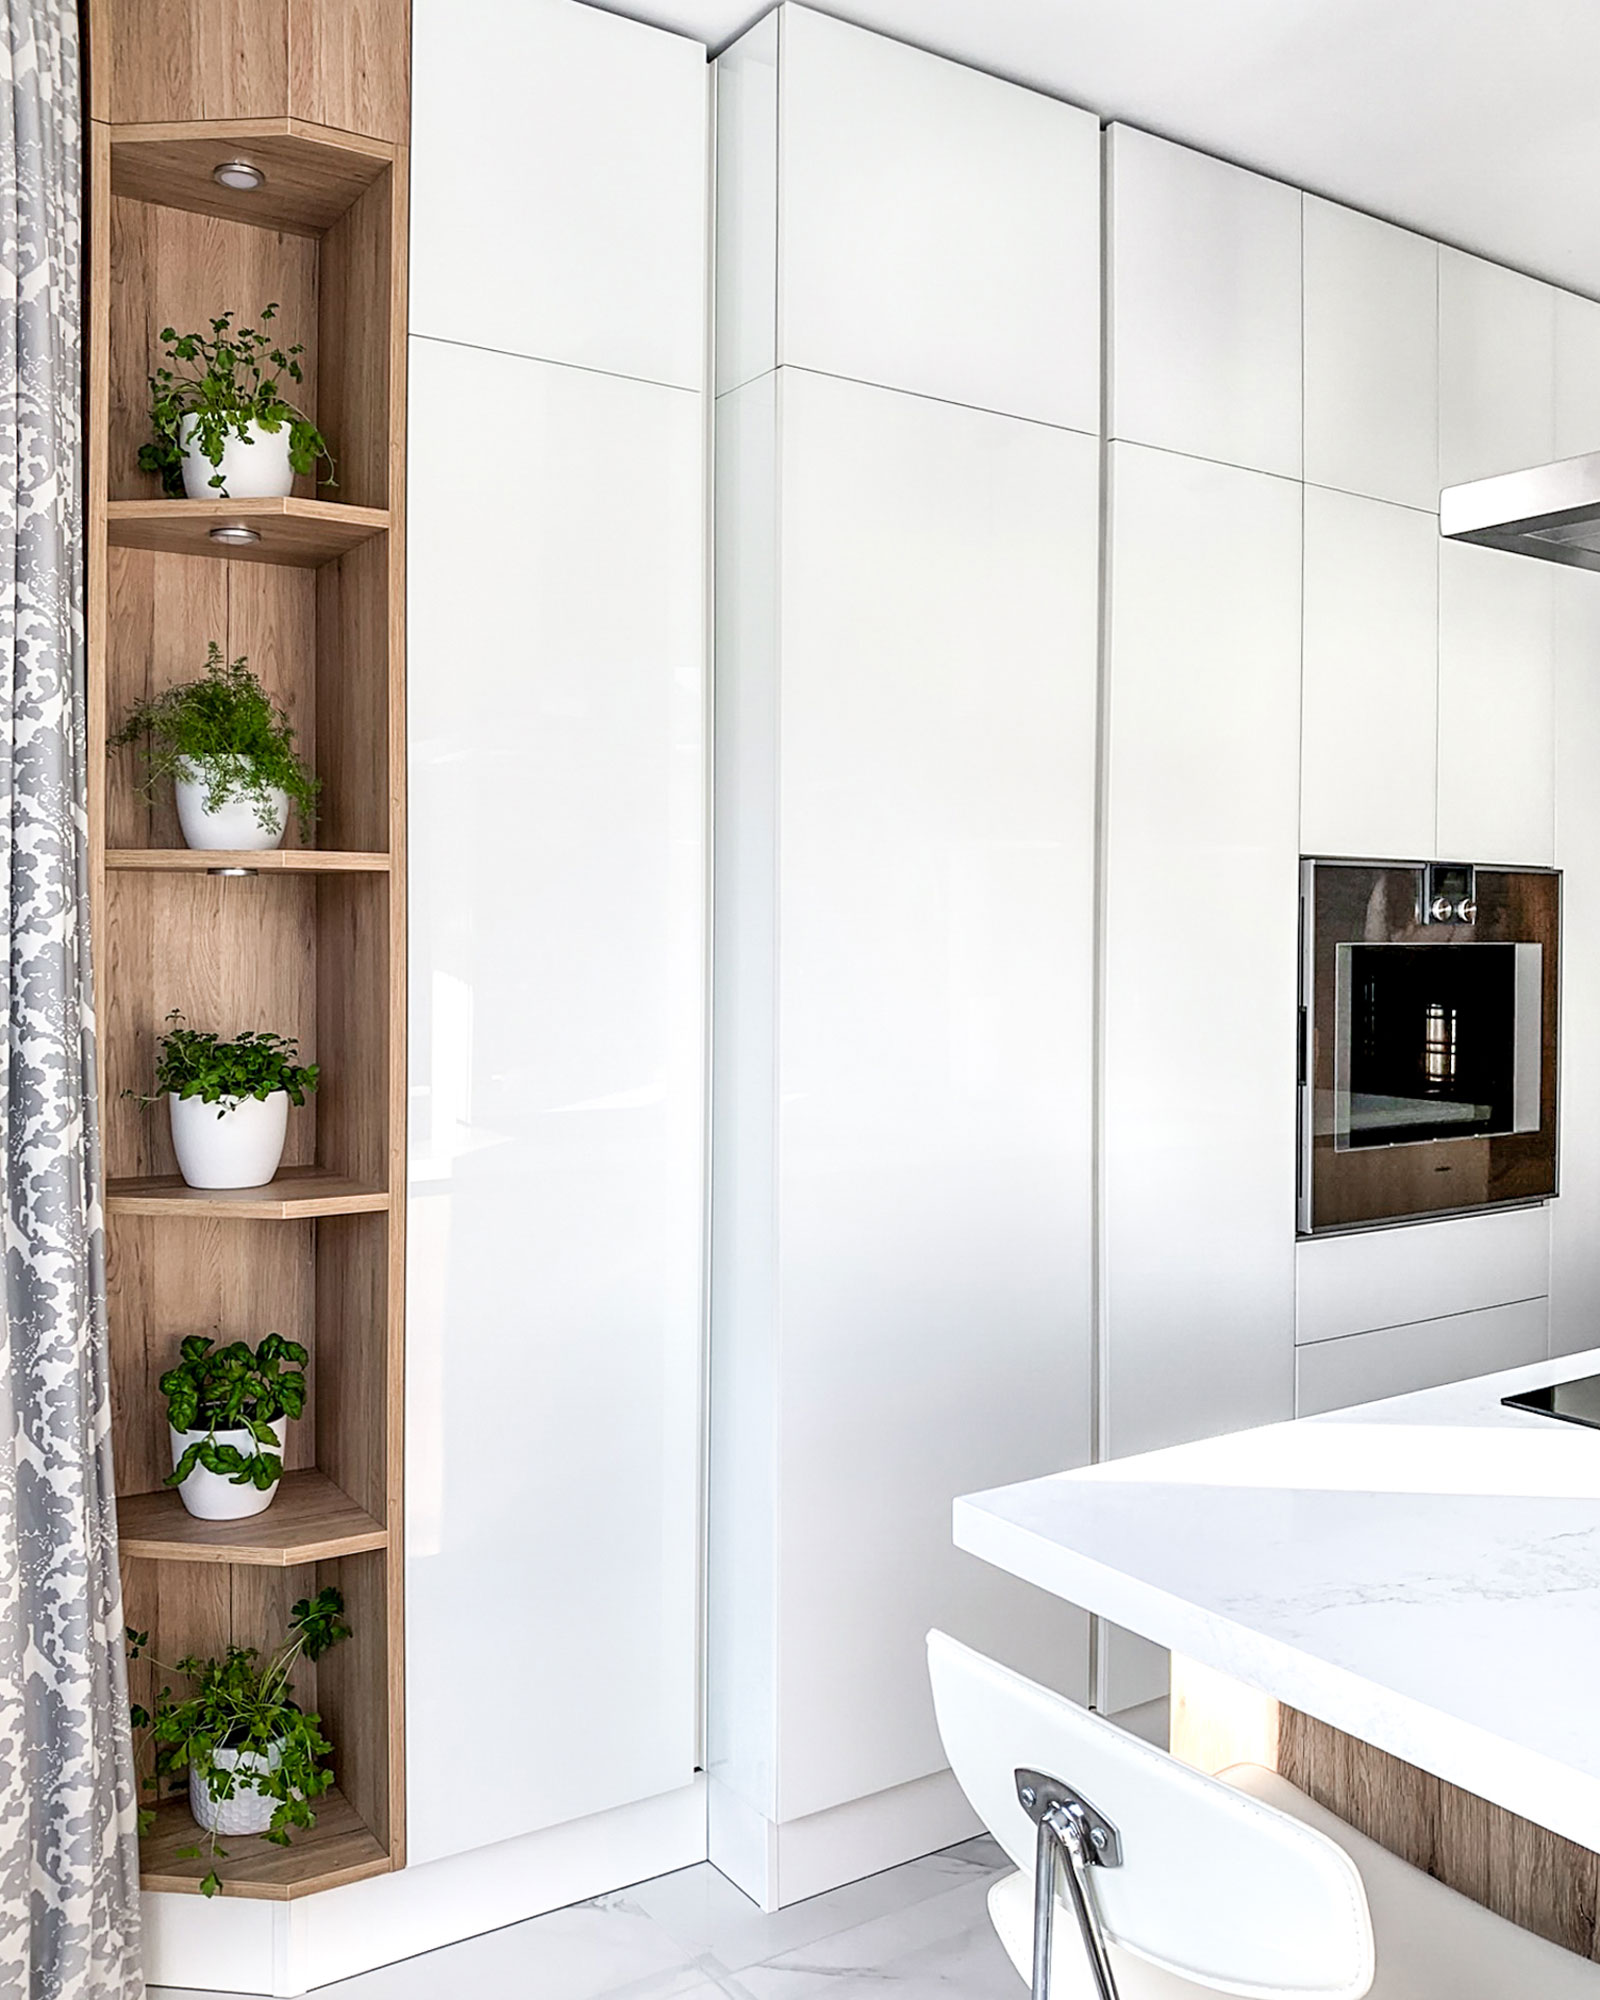
Another challenge was the bulkhead running across the entire kitchen. Removing it wasn’t worth the cost due to plumbing constraints, so I decided to work with it instead of against it. Taking the cabinets all the way to the ceiling, combined with shallow upper cabinets, created a much stronger sense of height. The 9’ ceilings suddenly felt even higher, and we gained additional storage at the same time.
A Smarter Island Design
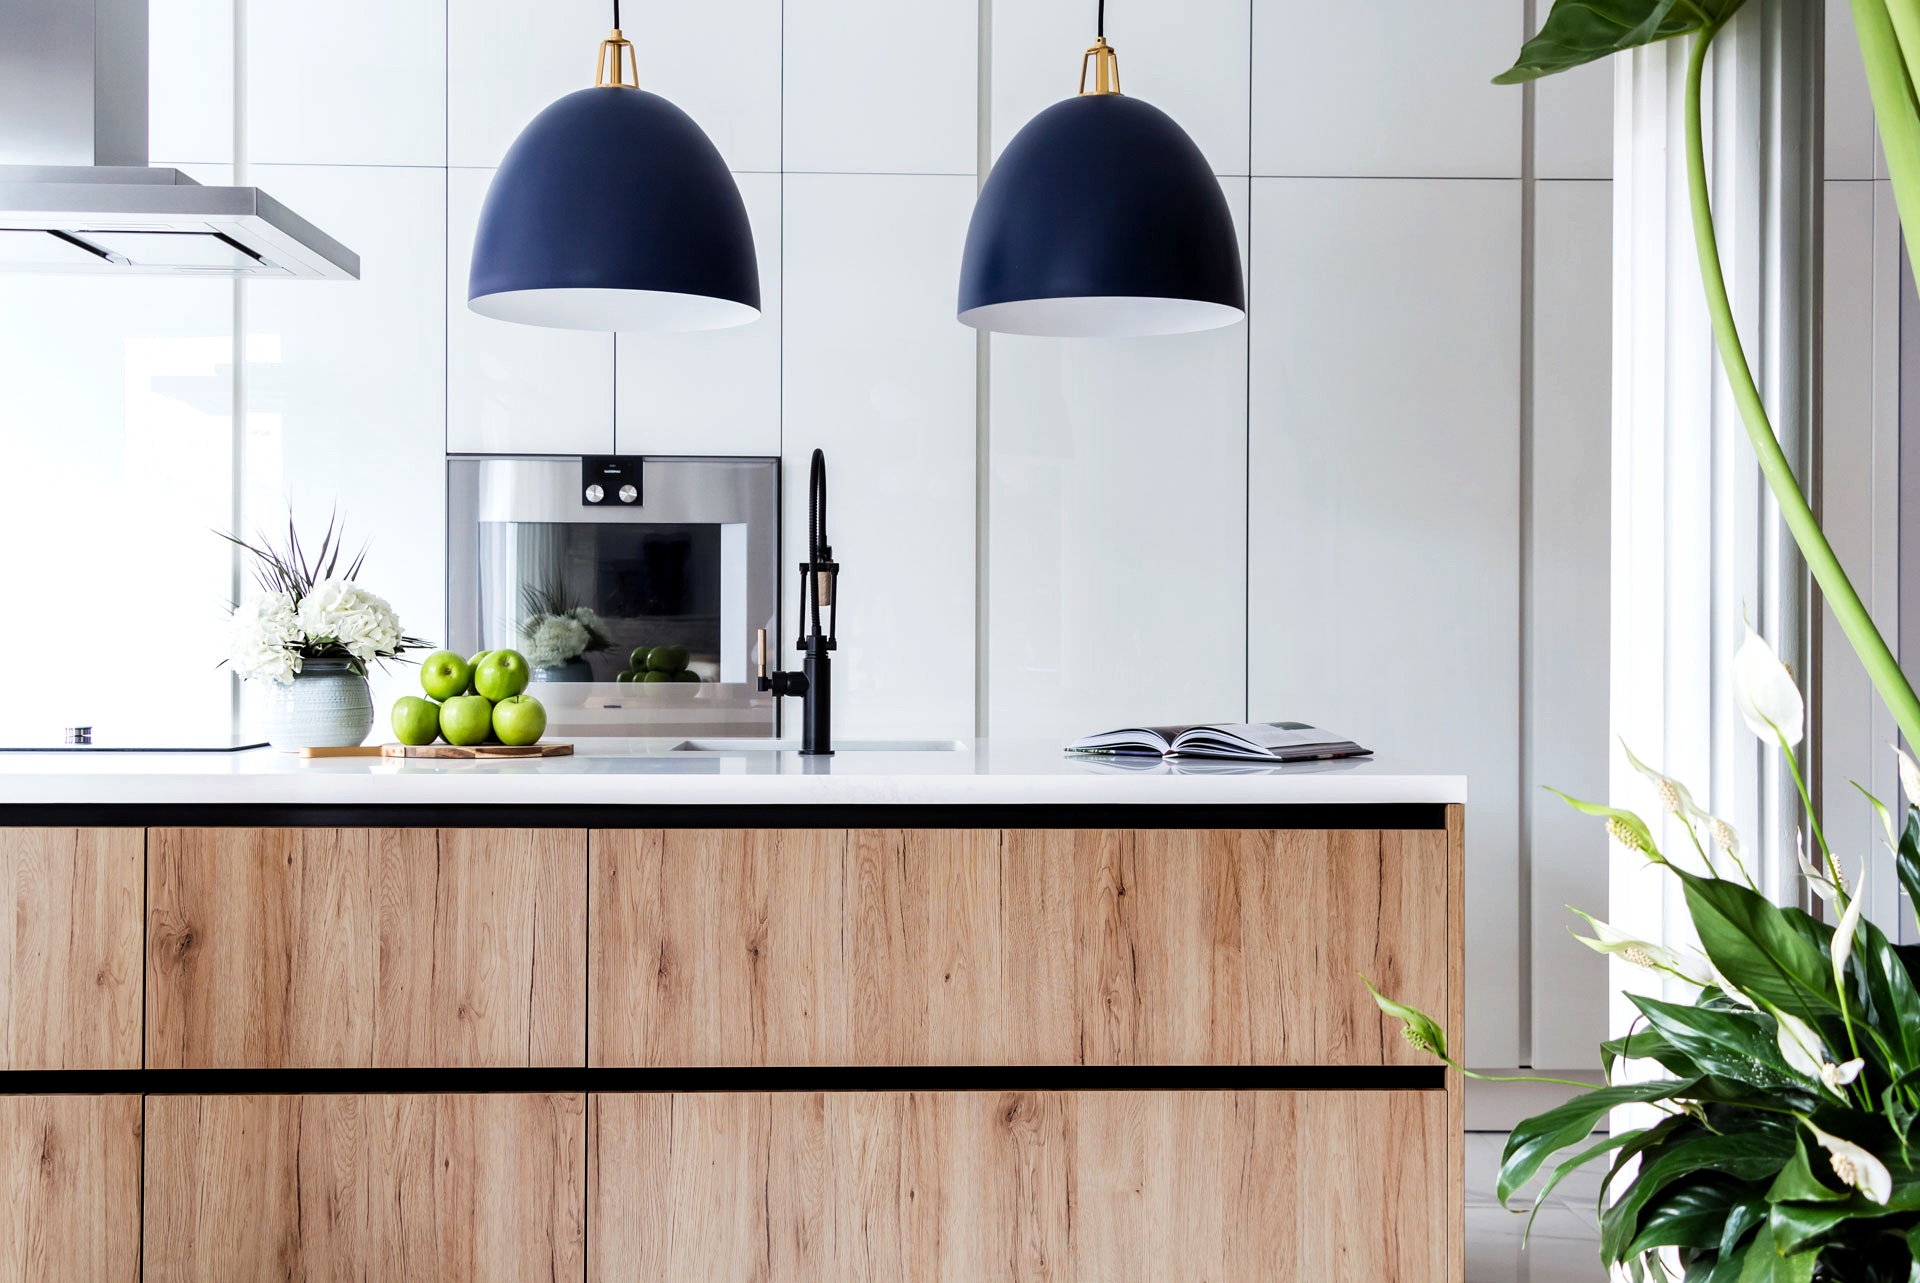
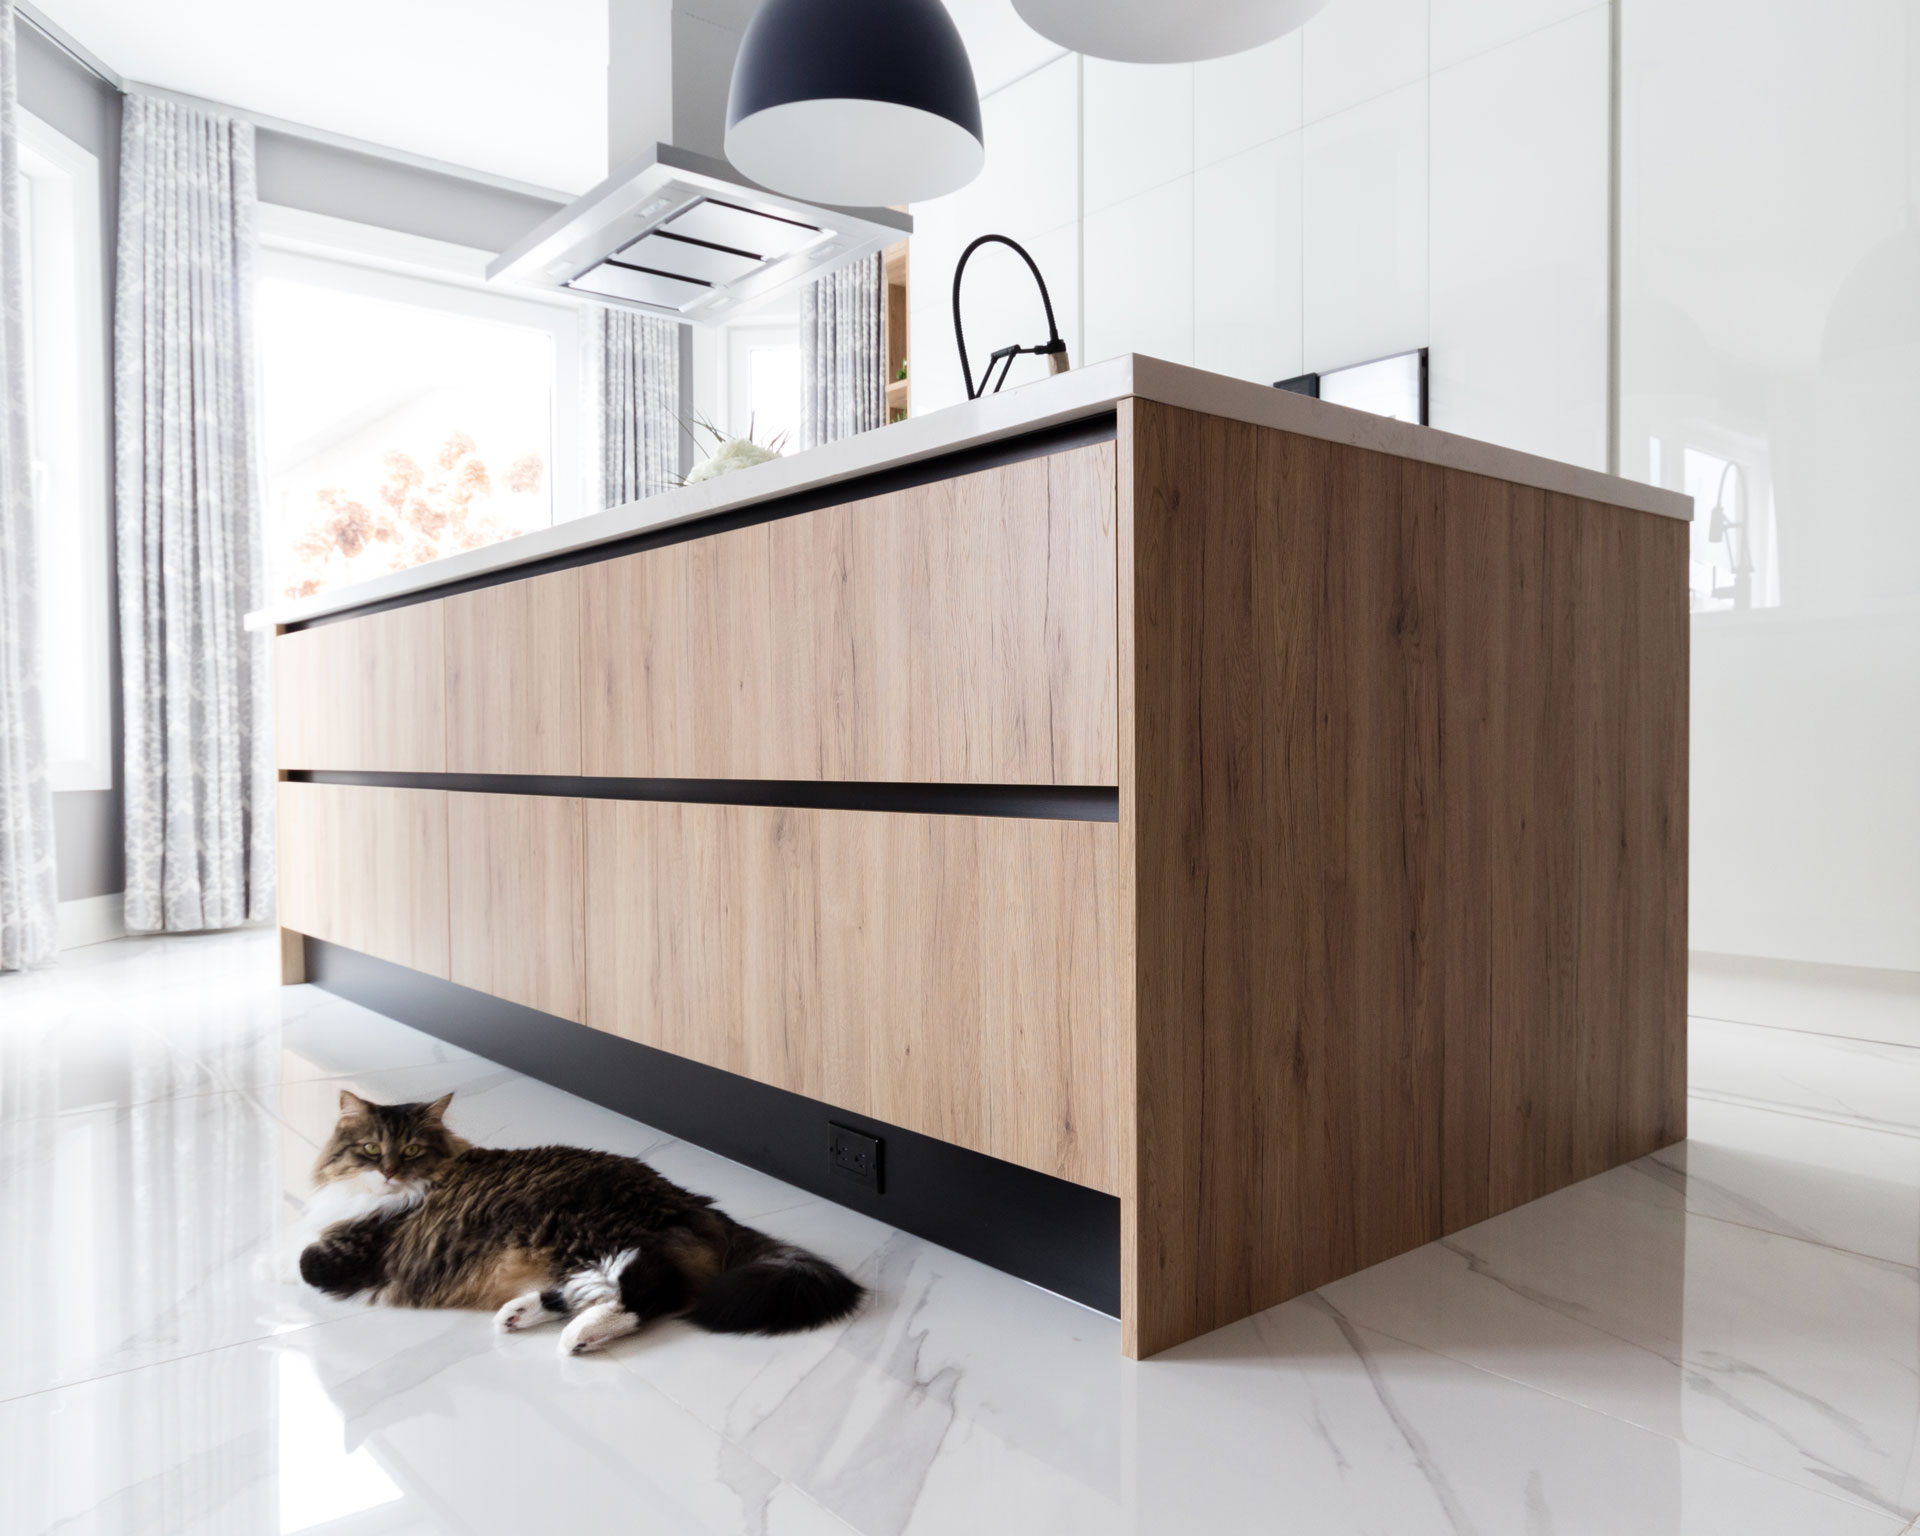
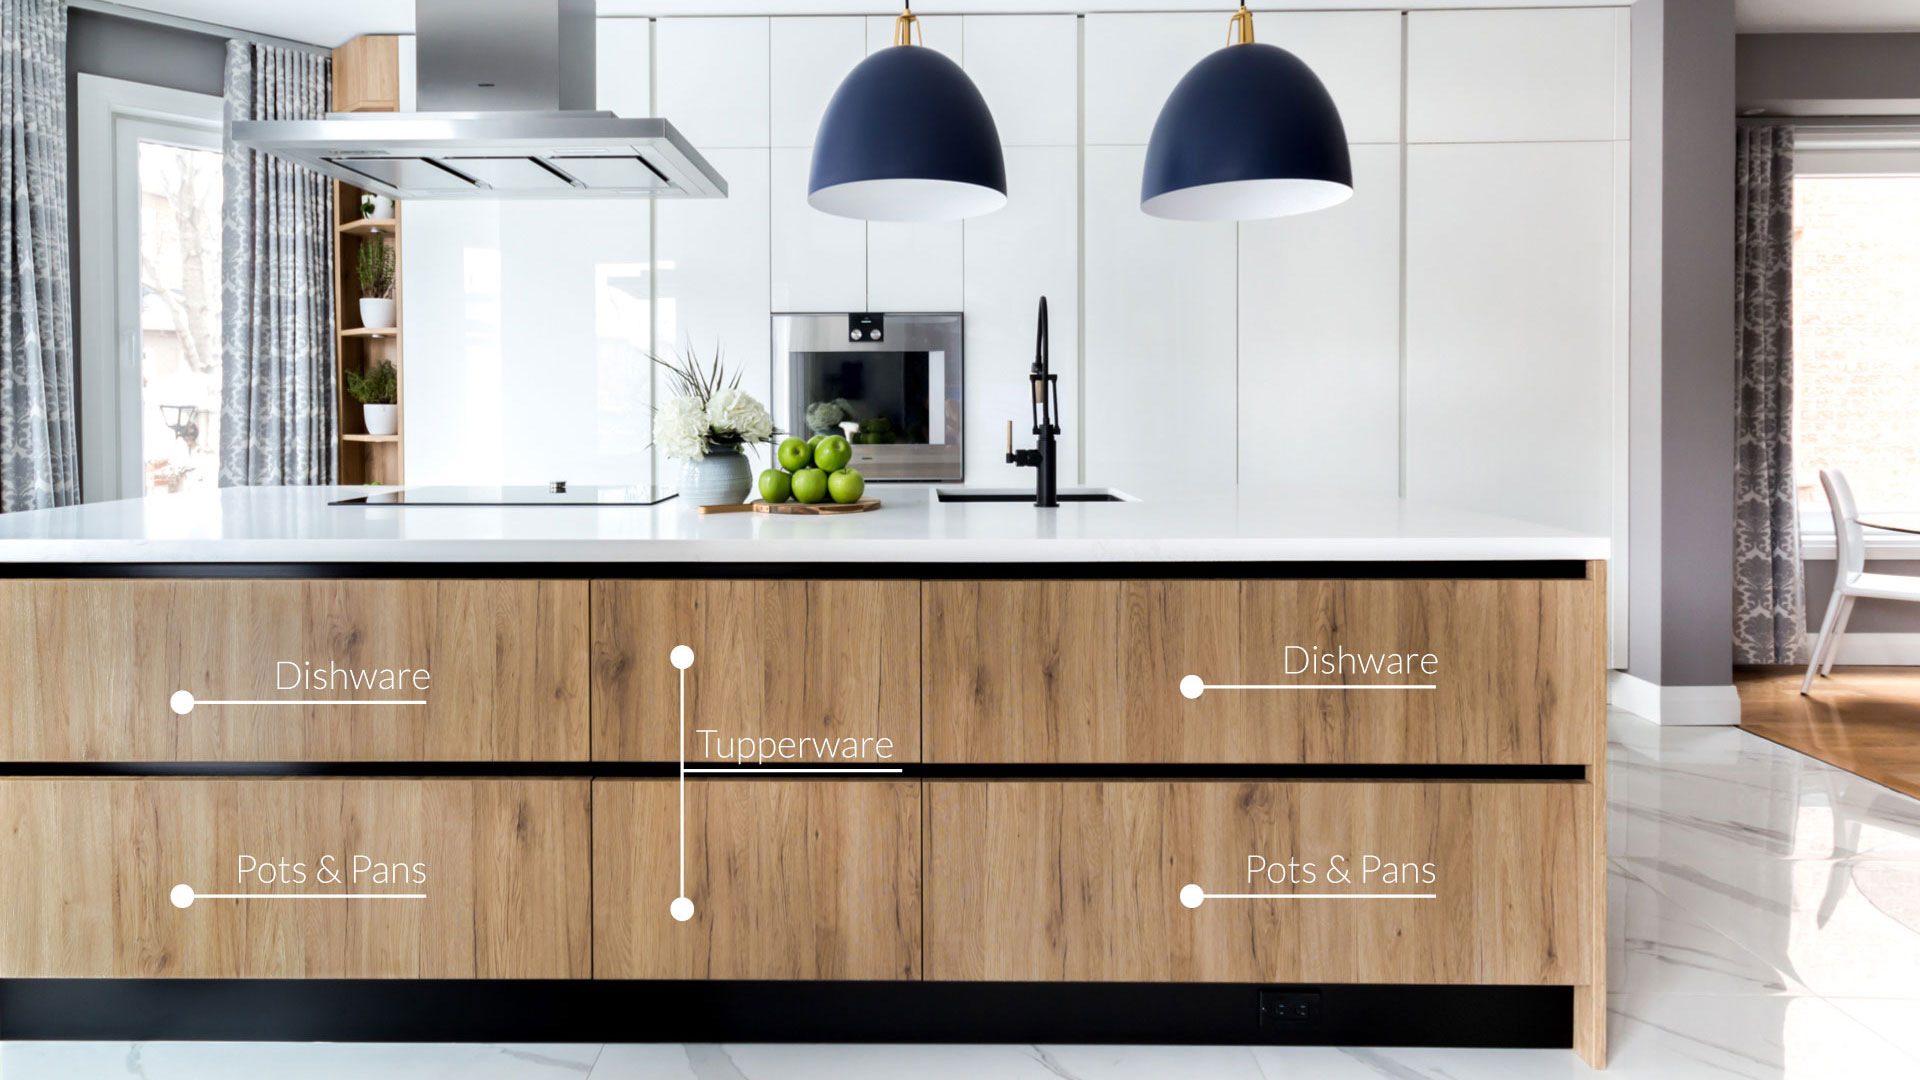
The island changed significantly. The original version had a large overhang with barstools that were rarely used. This time, we decided to prioritize storage over extra seating. The new island includes storage on both sides, plus a smaller overhang near the induction cooktop to extend usable prep space. That shift made the island far more practical day to day.
Materials and Contrast
Glossy white cabinetry was always part of the vision. There’s something special about the way glossy white surfaces reflect the natural light coming in from the garden. A common question is whether glossy white is difficult to maintain. Surprisingly, no. We chose glass cabinet fronts rather than laminate. Glass is easy to clean with simple soap and water, and unlike some laminates, the colour will not shift over time. All doors use a push-to-open system, except where integrated groove handles were used. After months of living with it, no regrets.
Why Contrast Matters
If you’ve seen a few of my projects, you’ve probably noticed that I love contrast. If the pantry wall was going to be white, the island needed warmth and depth. Too much white can feel clinical. Warm wood tones and black accents gave the kitchen balance and personality. Originally, we considered cooler wood tones. However, since the existing hardwood floors were staying, warmer tones made far more sense. Looking at it now, it was the right move. The same warm wood was repeated on the herb shelf to make that detail stand out.


Countertop Choice
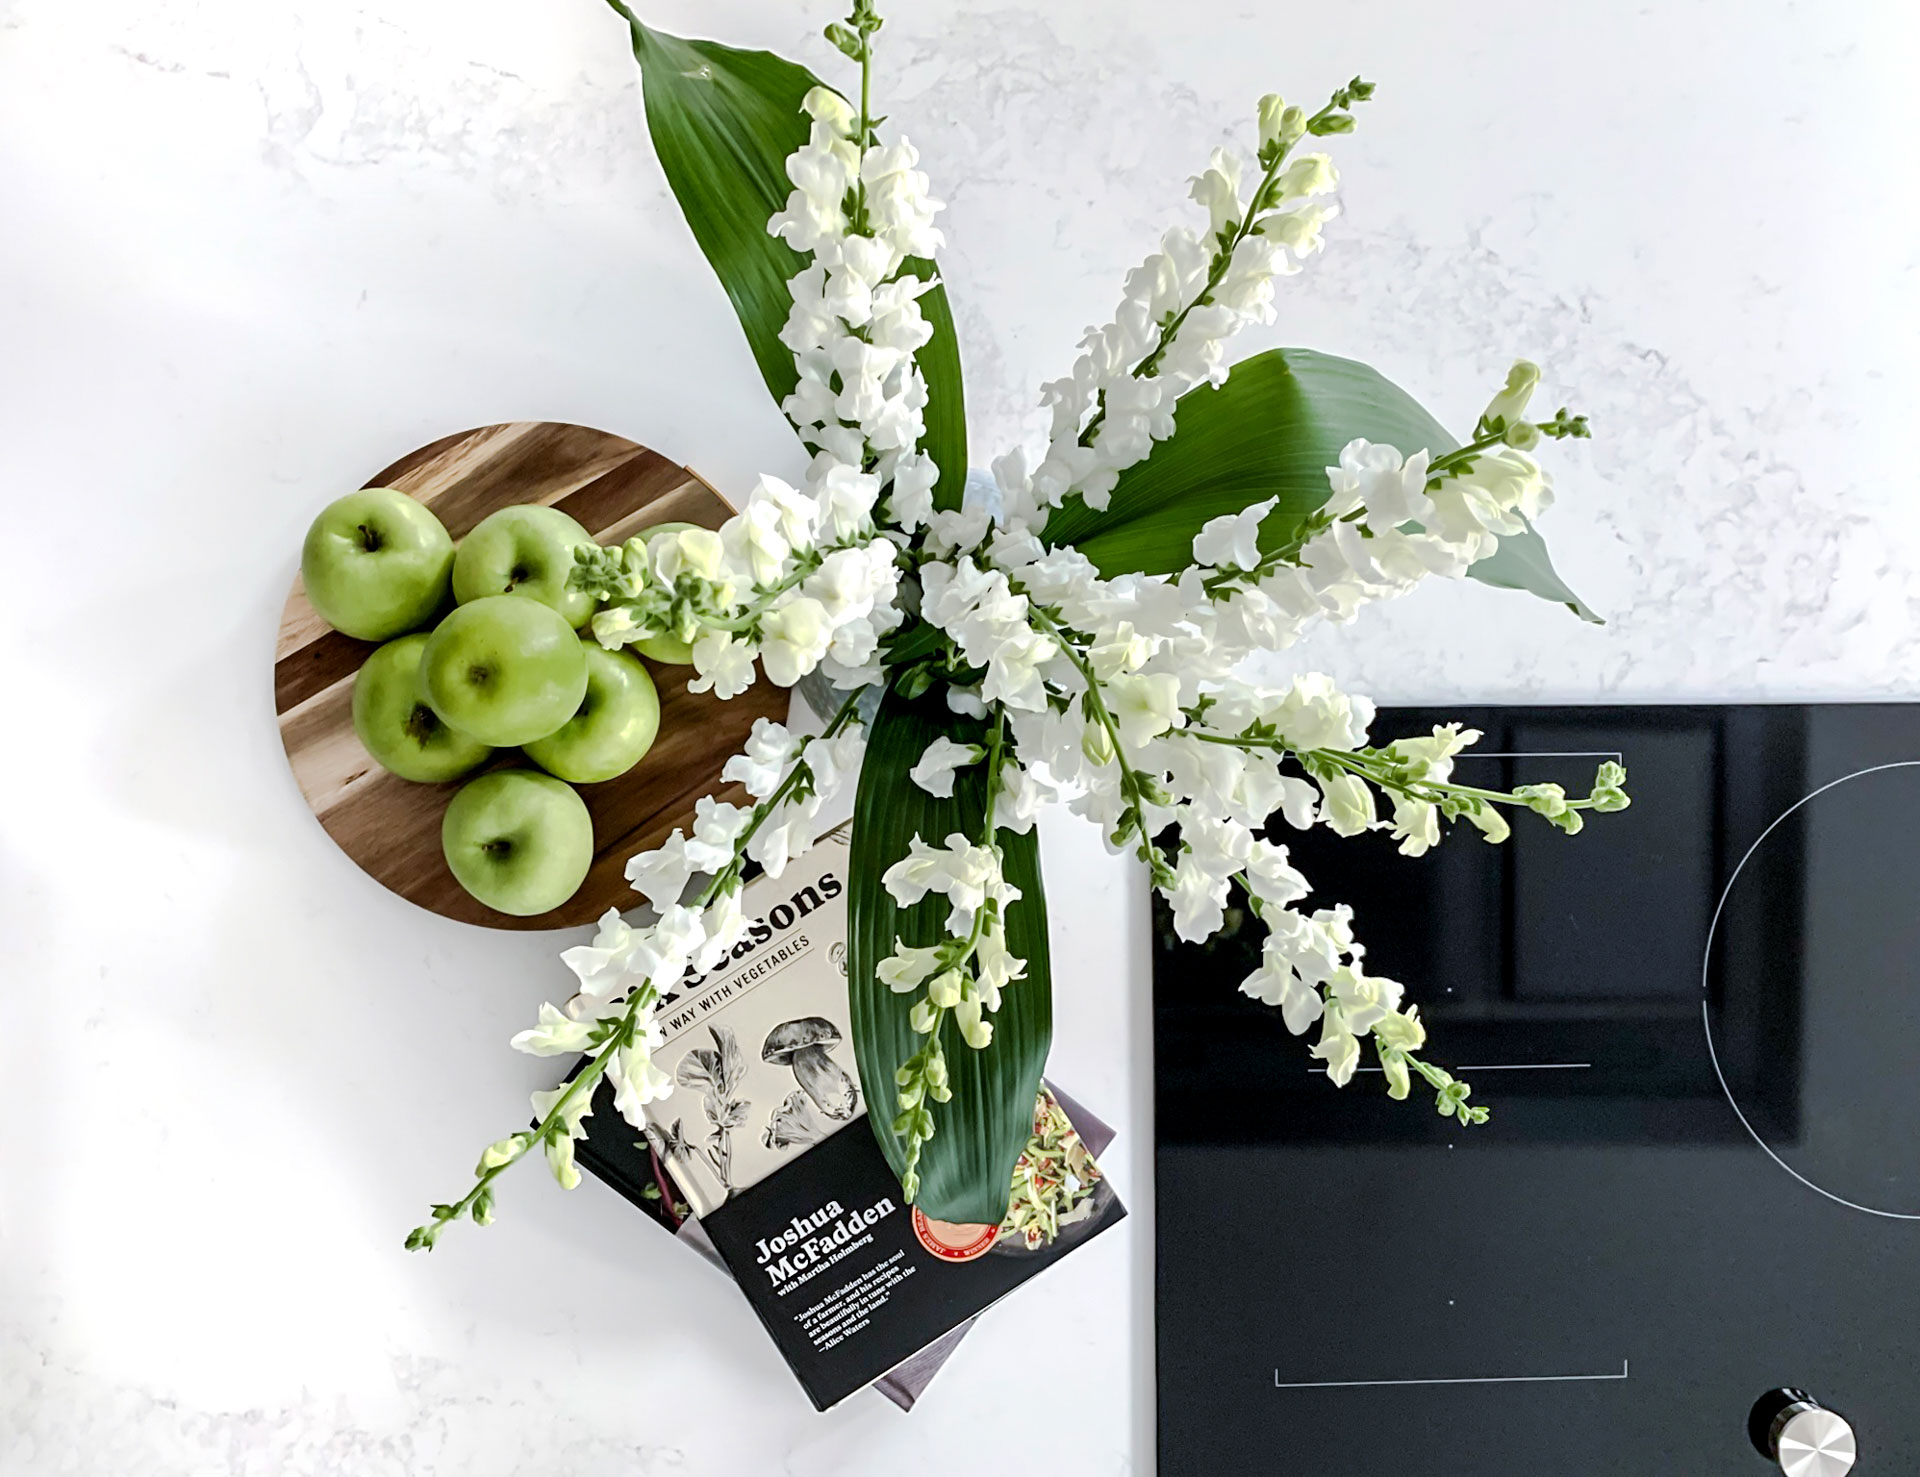
The countertop was an easy decision. The subtle veining of Caesarstone Calacatta Nuvo was exactly what the kitchen needed. Quartz offered the durability and low maintenance we wanted, while still keeping a clean and elevated look. Caesarstone’s jumbo slab size also helped maximize coverage and reduce seams, all while using only one slab. Unlike granite, there is no need for specialized cleaners. Soap and water is enough.
Sink and Faucet
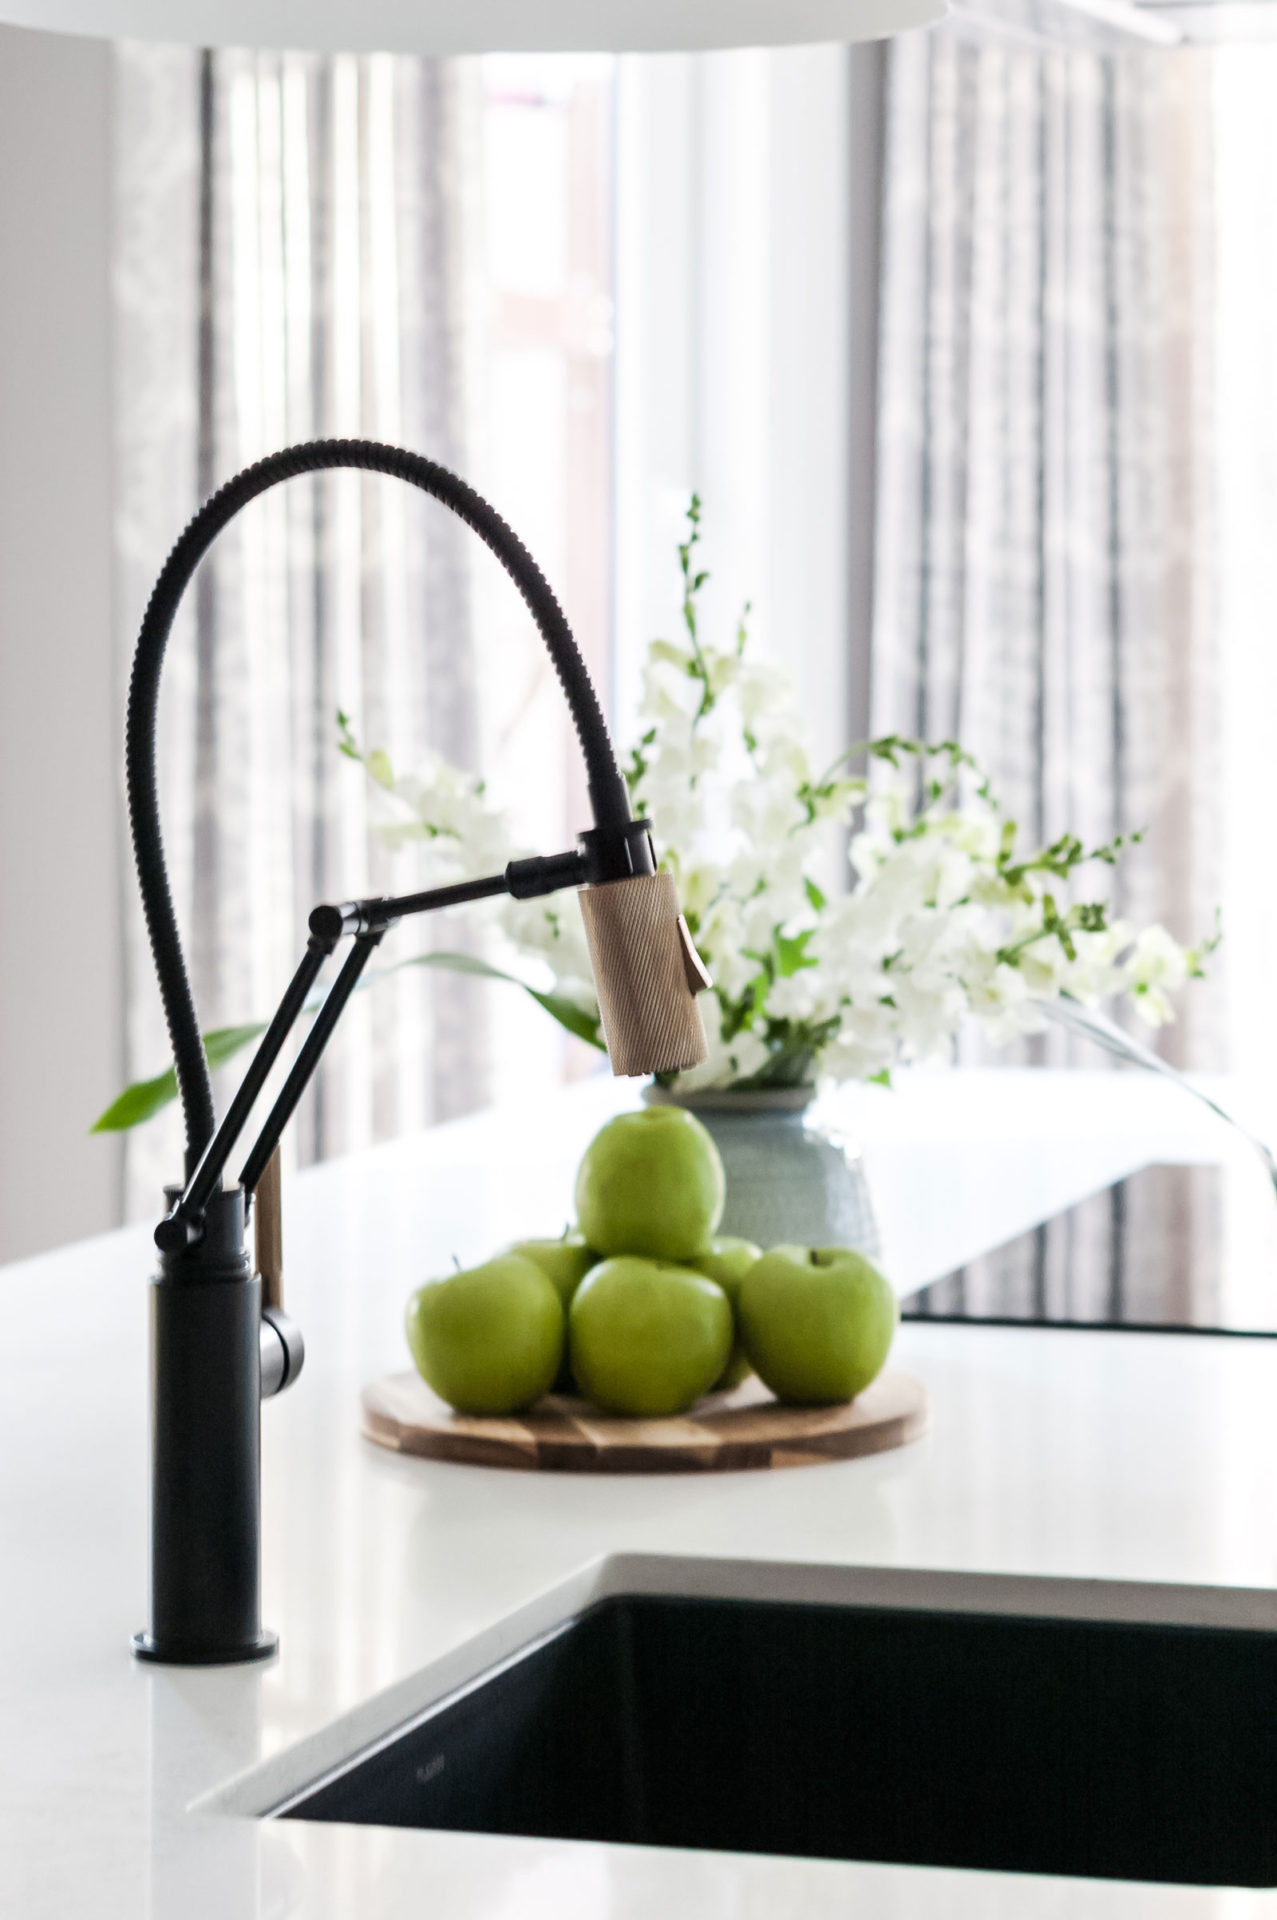
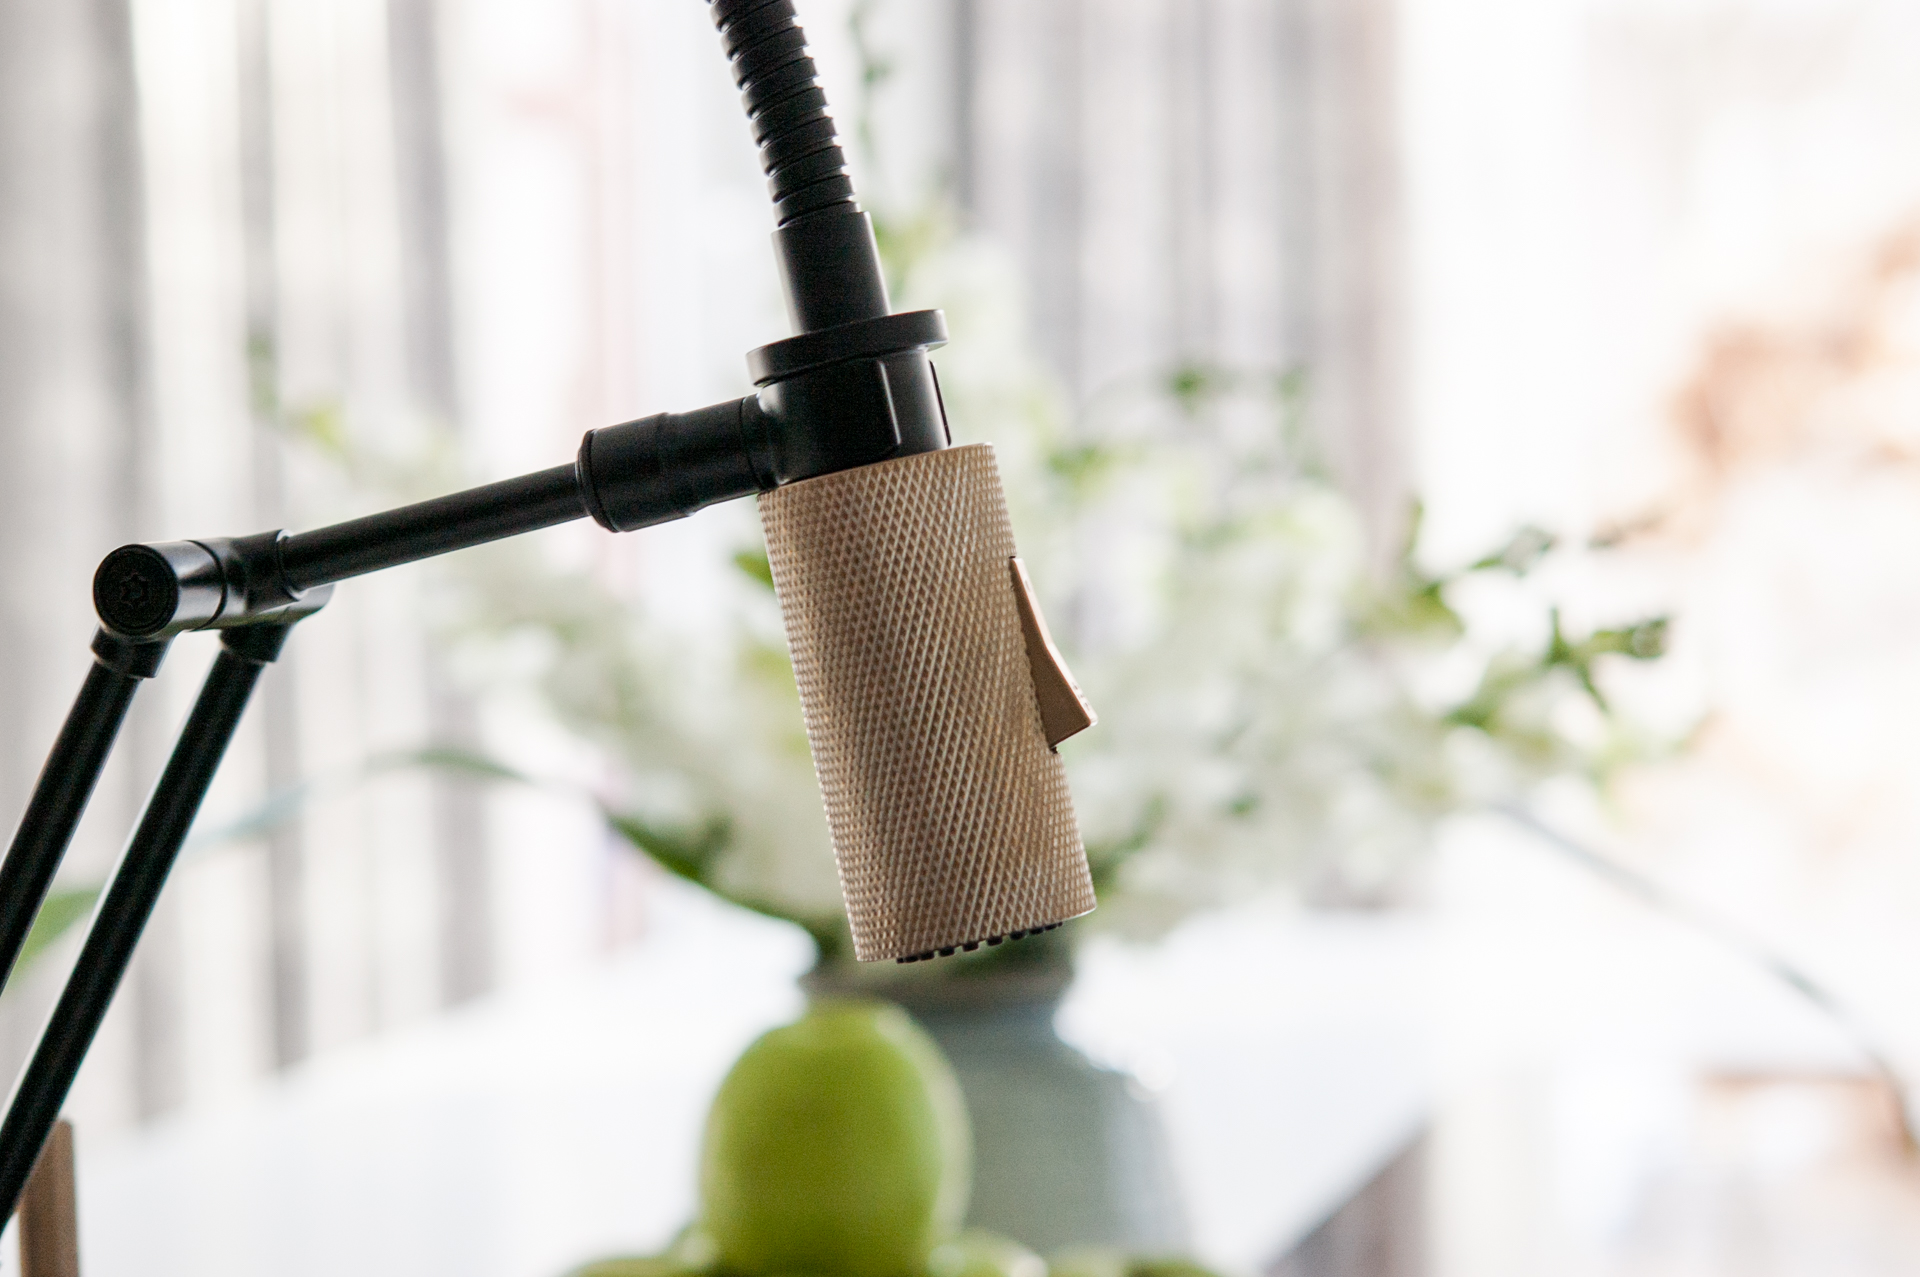
With black accents and a white countertop, adding black to the sink and faucet felt natural. Instead of standard stainless steel, I chose a Blanco Precis Silgranit sink in anthracite. The matte finish is beautiful and highly scratch resistant. The faucet is the Brizo Litze, which is honestly a work of art. I’ve used Brizo in several projects over the years and have always trusted their quality. The subtle brass accent tied into details throughout the home without demanding too much attention.
Flooring and Transitions
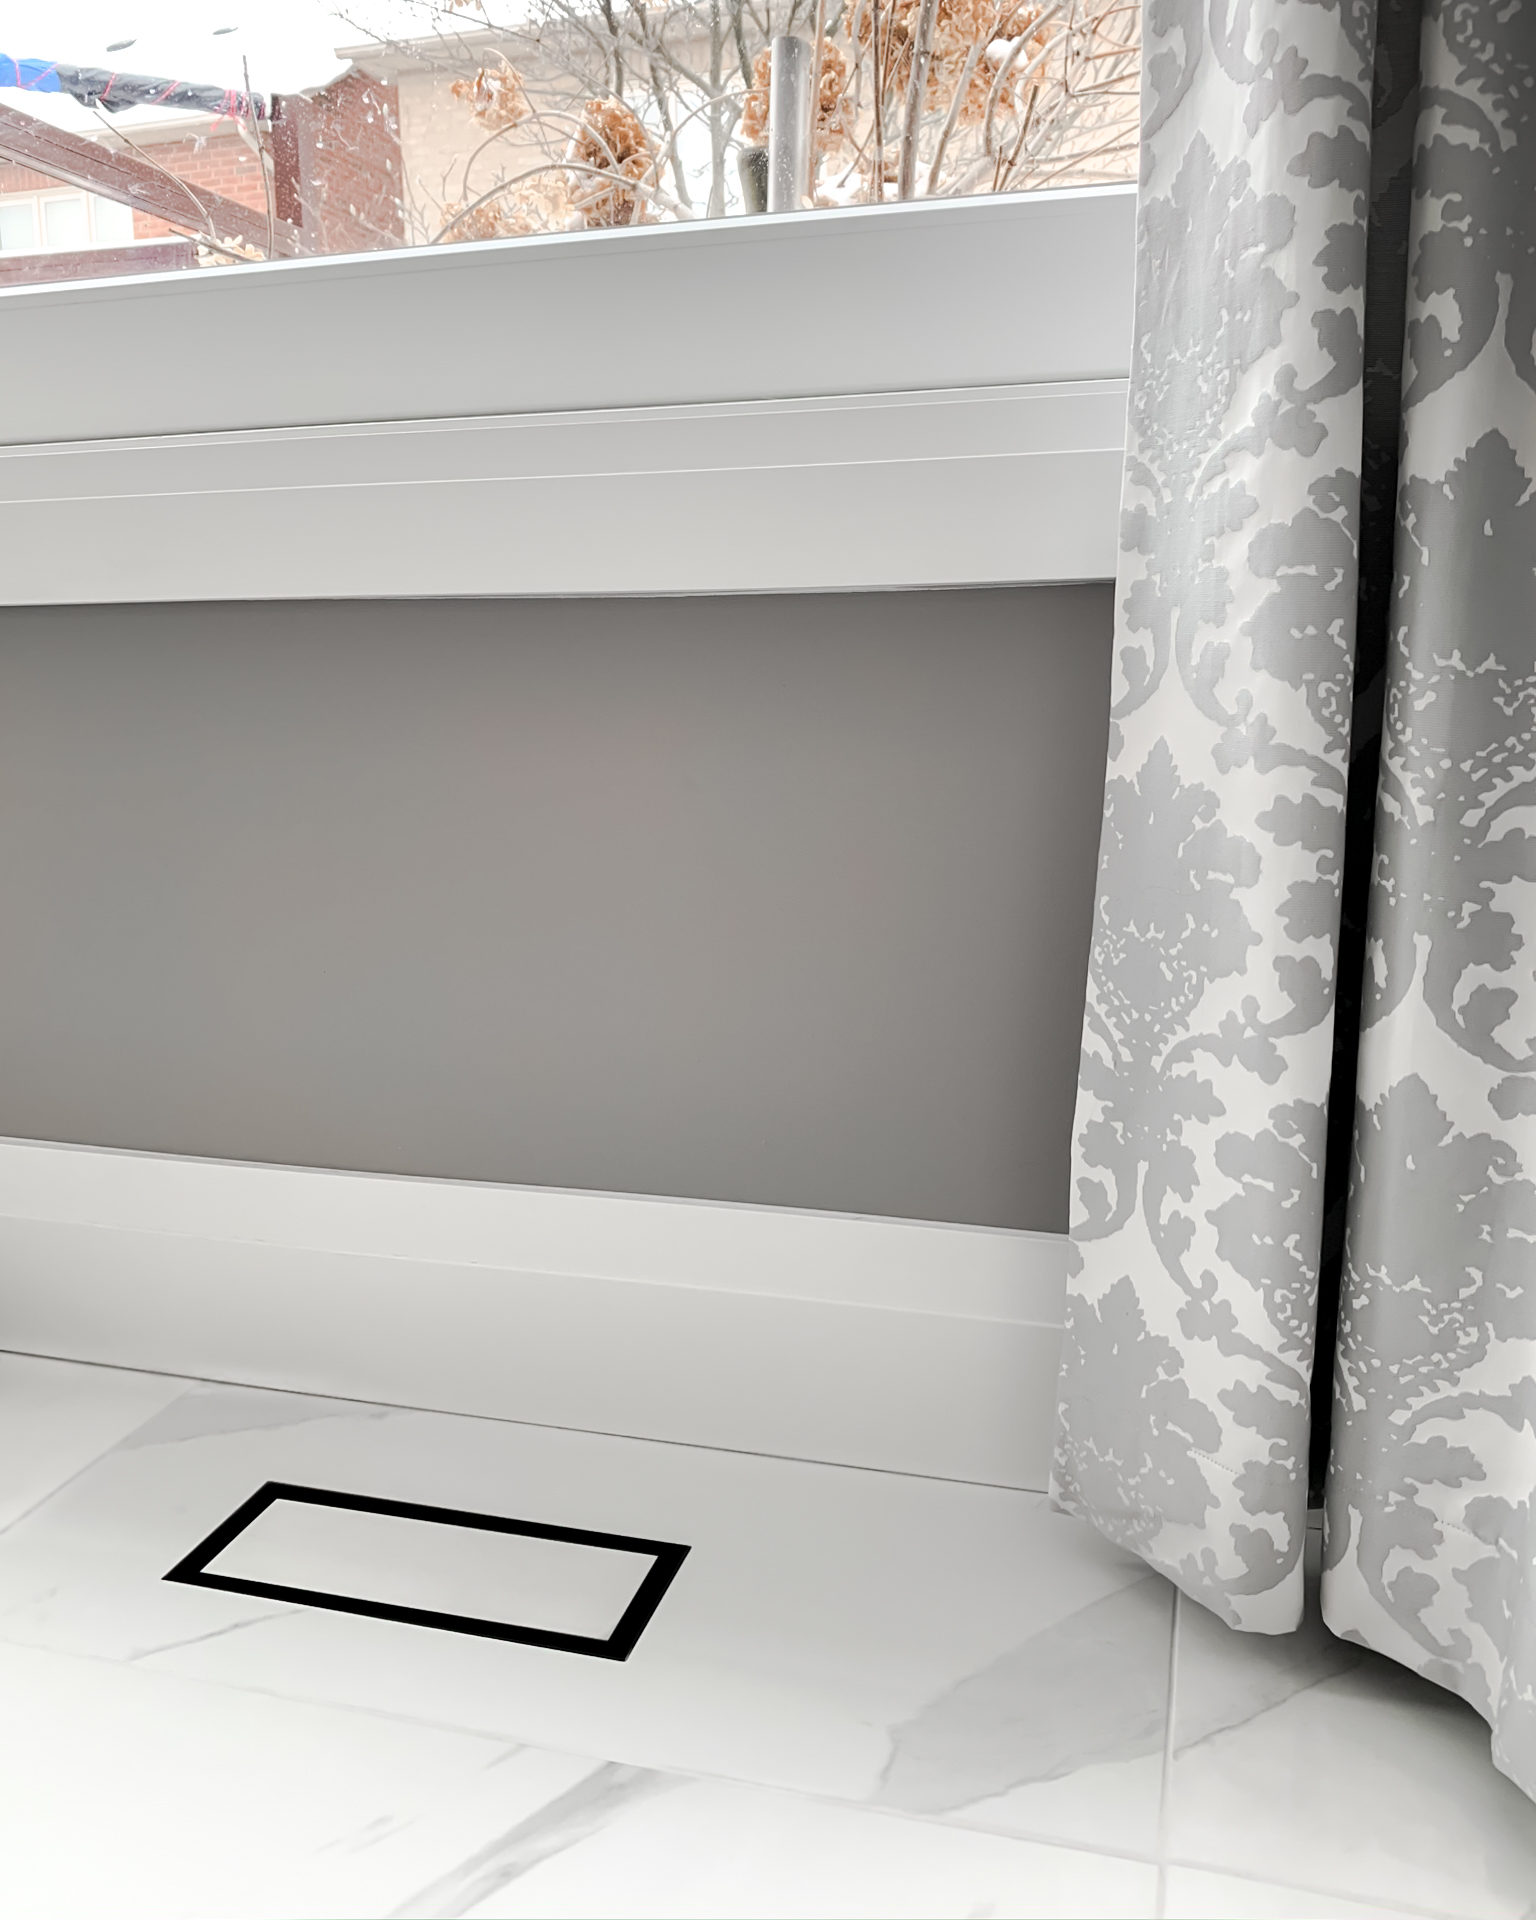
The floor uses large-format porcelain tile in a 24″ x 48″ size. It is not an easy format to install, but the scale helped make the room feel larger. Minimal grout lines and glossy white surfaces create the impression of large marble slabs without the same cost. The transition to the existing hardwood floor was done using sleek black trim pieces, tying into the island accents beautifully.


Small Details Matter
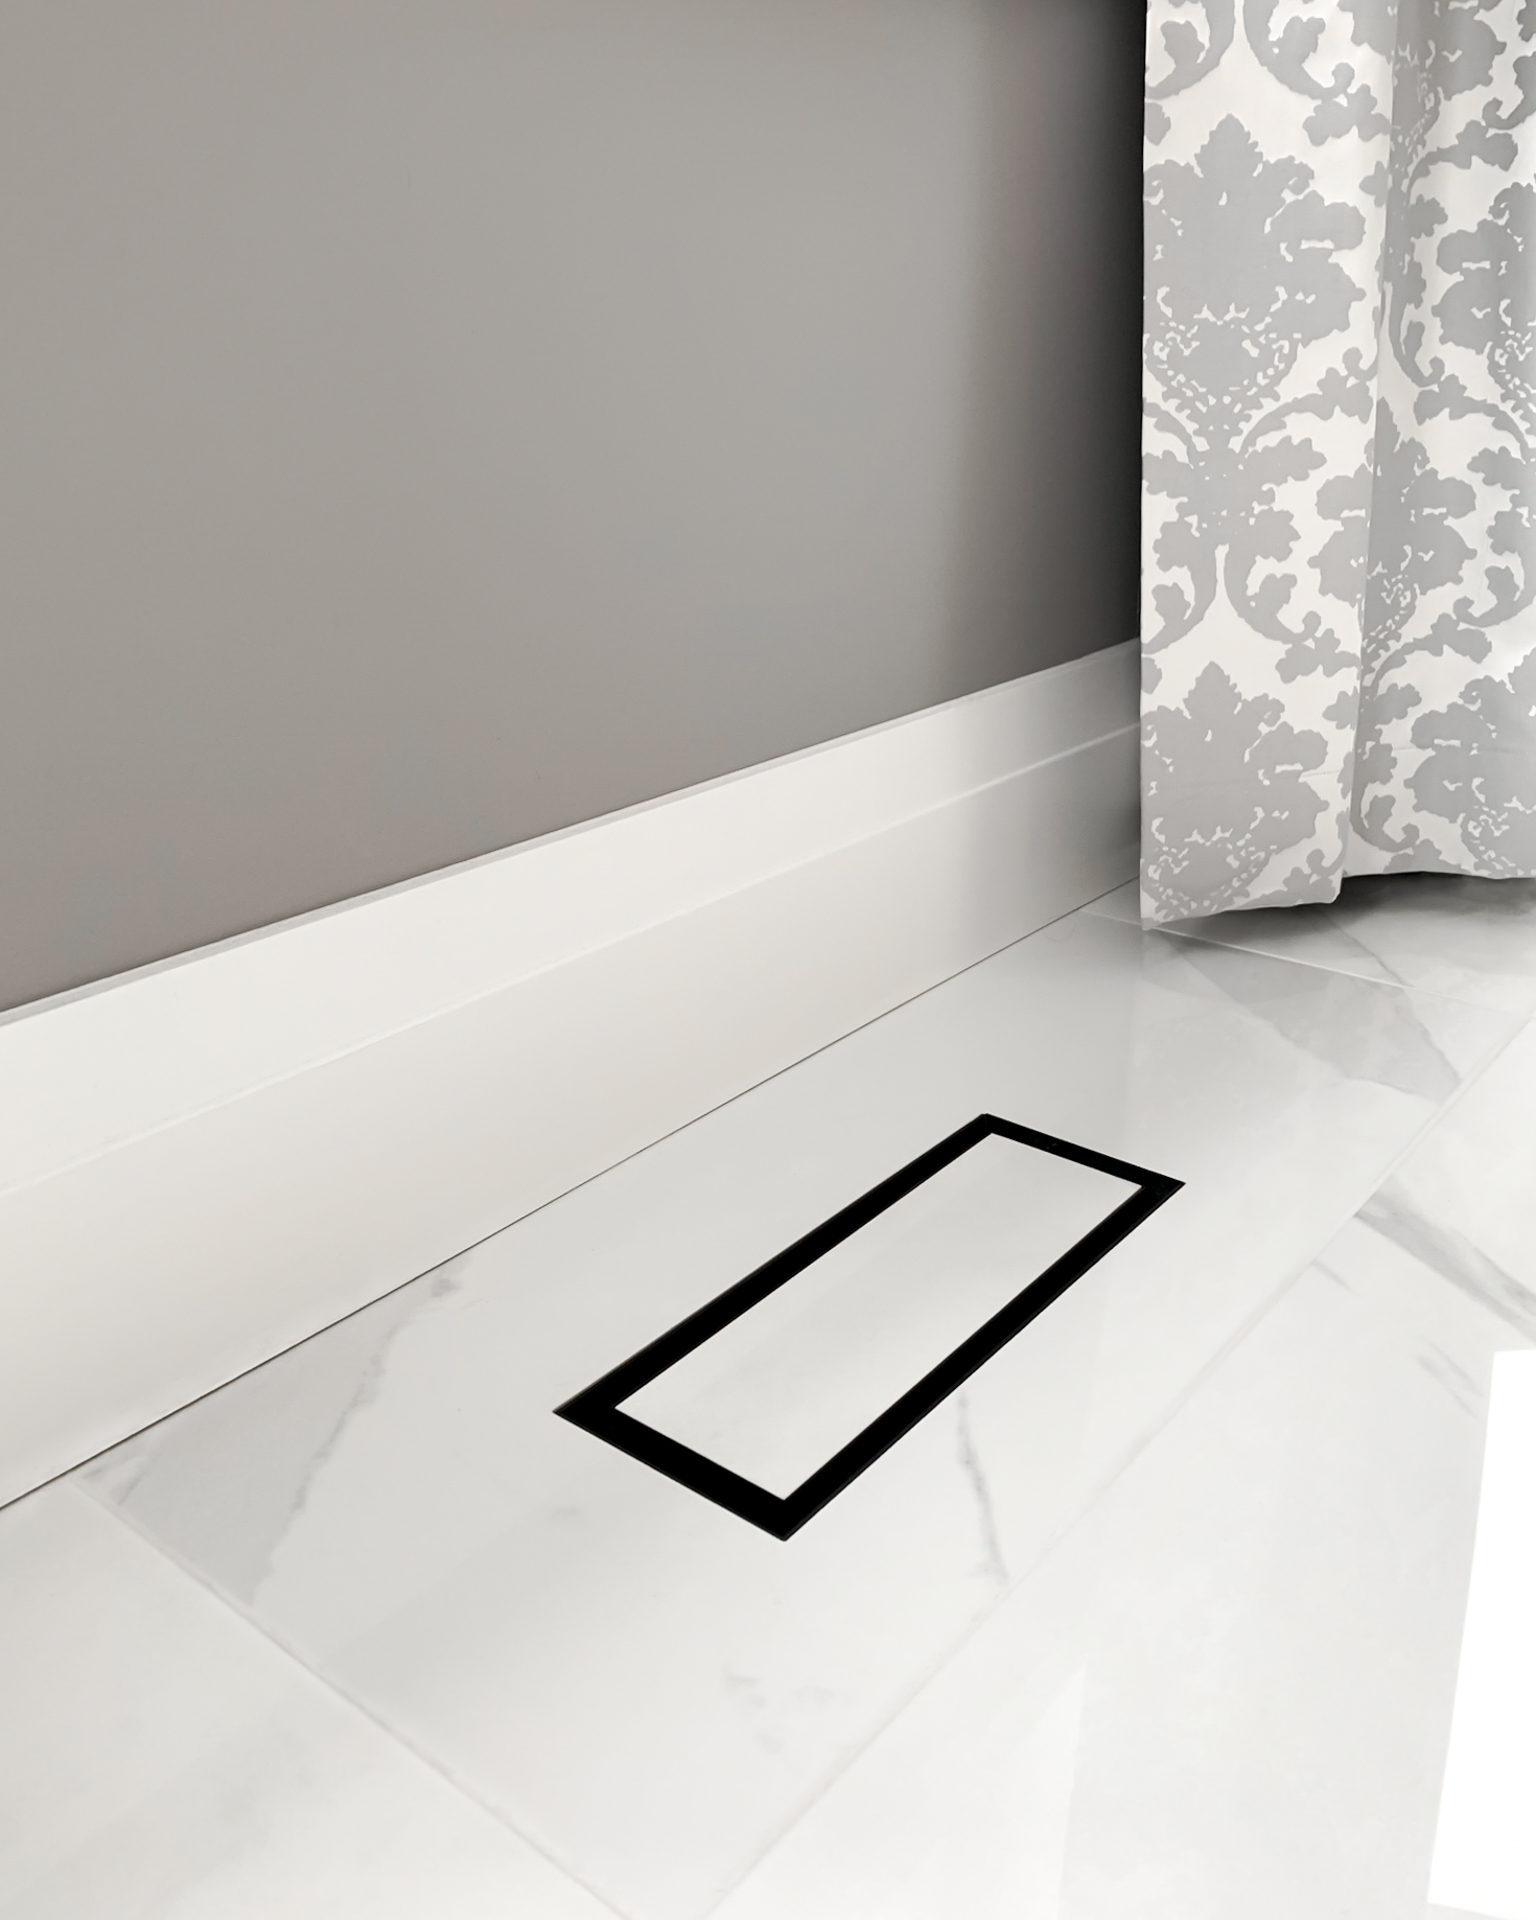
One of my favourite details in the kitchen is the Aria Vent. No more ugly metal floor vents. Sometimes the smallest details end up being the most satisfying. And yes, I may occasionally walk by it and smile. That’s what good design is all about.
Lighting
The original light fixtures were meant to stay. However, their small scale and white finish would have disappeared visually. The island needed something more substantial. So, I chose the Crate & Barrel Maddox Dome pendants in Navy with Brass sockets. Because the living room already has blue walls, they connected beautifully to the rest of the main floor. They added scale, contrast, and just enough drama to break the monochromatic palette.
Great Design Needs Great Execution
Even the best design needs the right people to bring it to life. I had admired Scavolini for years because of their clean, streamlined designs. From the first meeting, they understood exactly what mattered to us and helped ensure the kitchen matched the vision. The process was smooth, with only small refinements made to integrate some of their excellent pantry storage systems. That kind of collaboration matters.
Continue Exploring the Vellore Village Project
The Vellore Village kitchen design is just one part of this complete home transformation. Start with the Vellore Village Home Transformation to discover the story behind the project, then visit the Vellore Village portfolio to see the finished spaces brought together.
You can also continue exploring the project with our articles on the Vellore Village living room design, Vellore Village bedroom design, Vellore Village ensuite design, Vellore Village Basement Suite design, and Vellore Village staircase design, where we share more of the ideas and design decisions behind this family renovation.
If you’re planning a renovation of your own, learn more about our Residential Interior Design Services and how we help homeowners create spaces that are both beautiful and functional. For more completed projects and behind-the-scenes inspiration, follow us on Instagram.


Leave a Reply
You must be logged in to post a comment.